Eat, Sweet

Lemon and poppyseed tea cake

This refreshing little number is quintessentially the most creative cake I have made in a while as I had to think really hard about the frosting……Making paleo frosting is tricky business – However after creating this Japanese sweet potato frosting (you heard that right) it would appear it’s not so difficult to make after all.

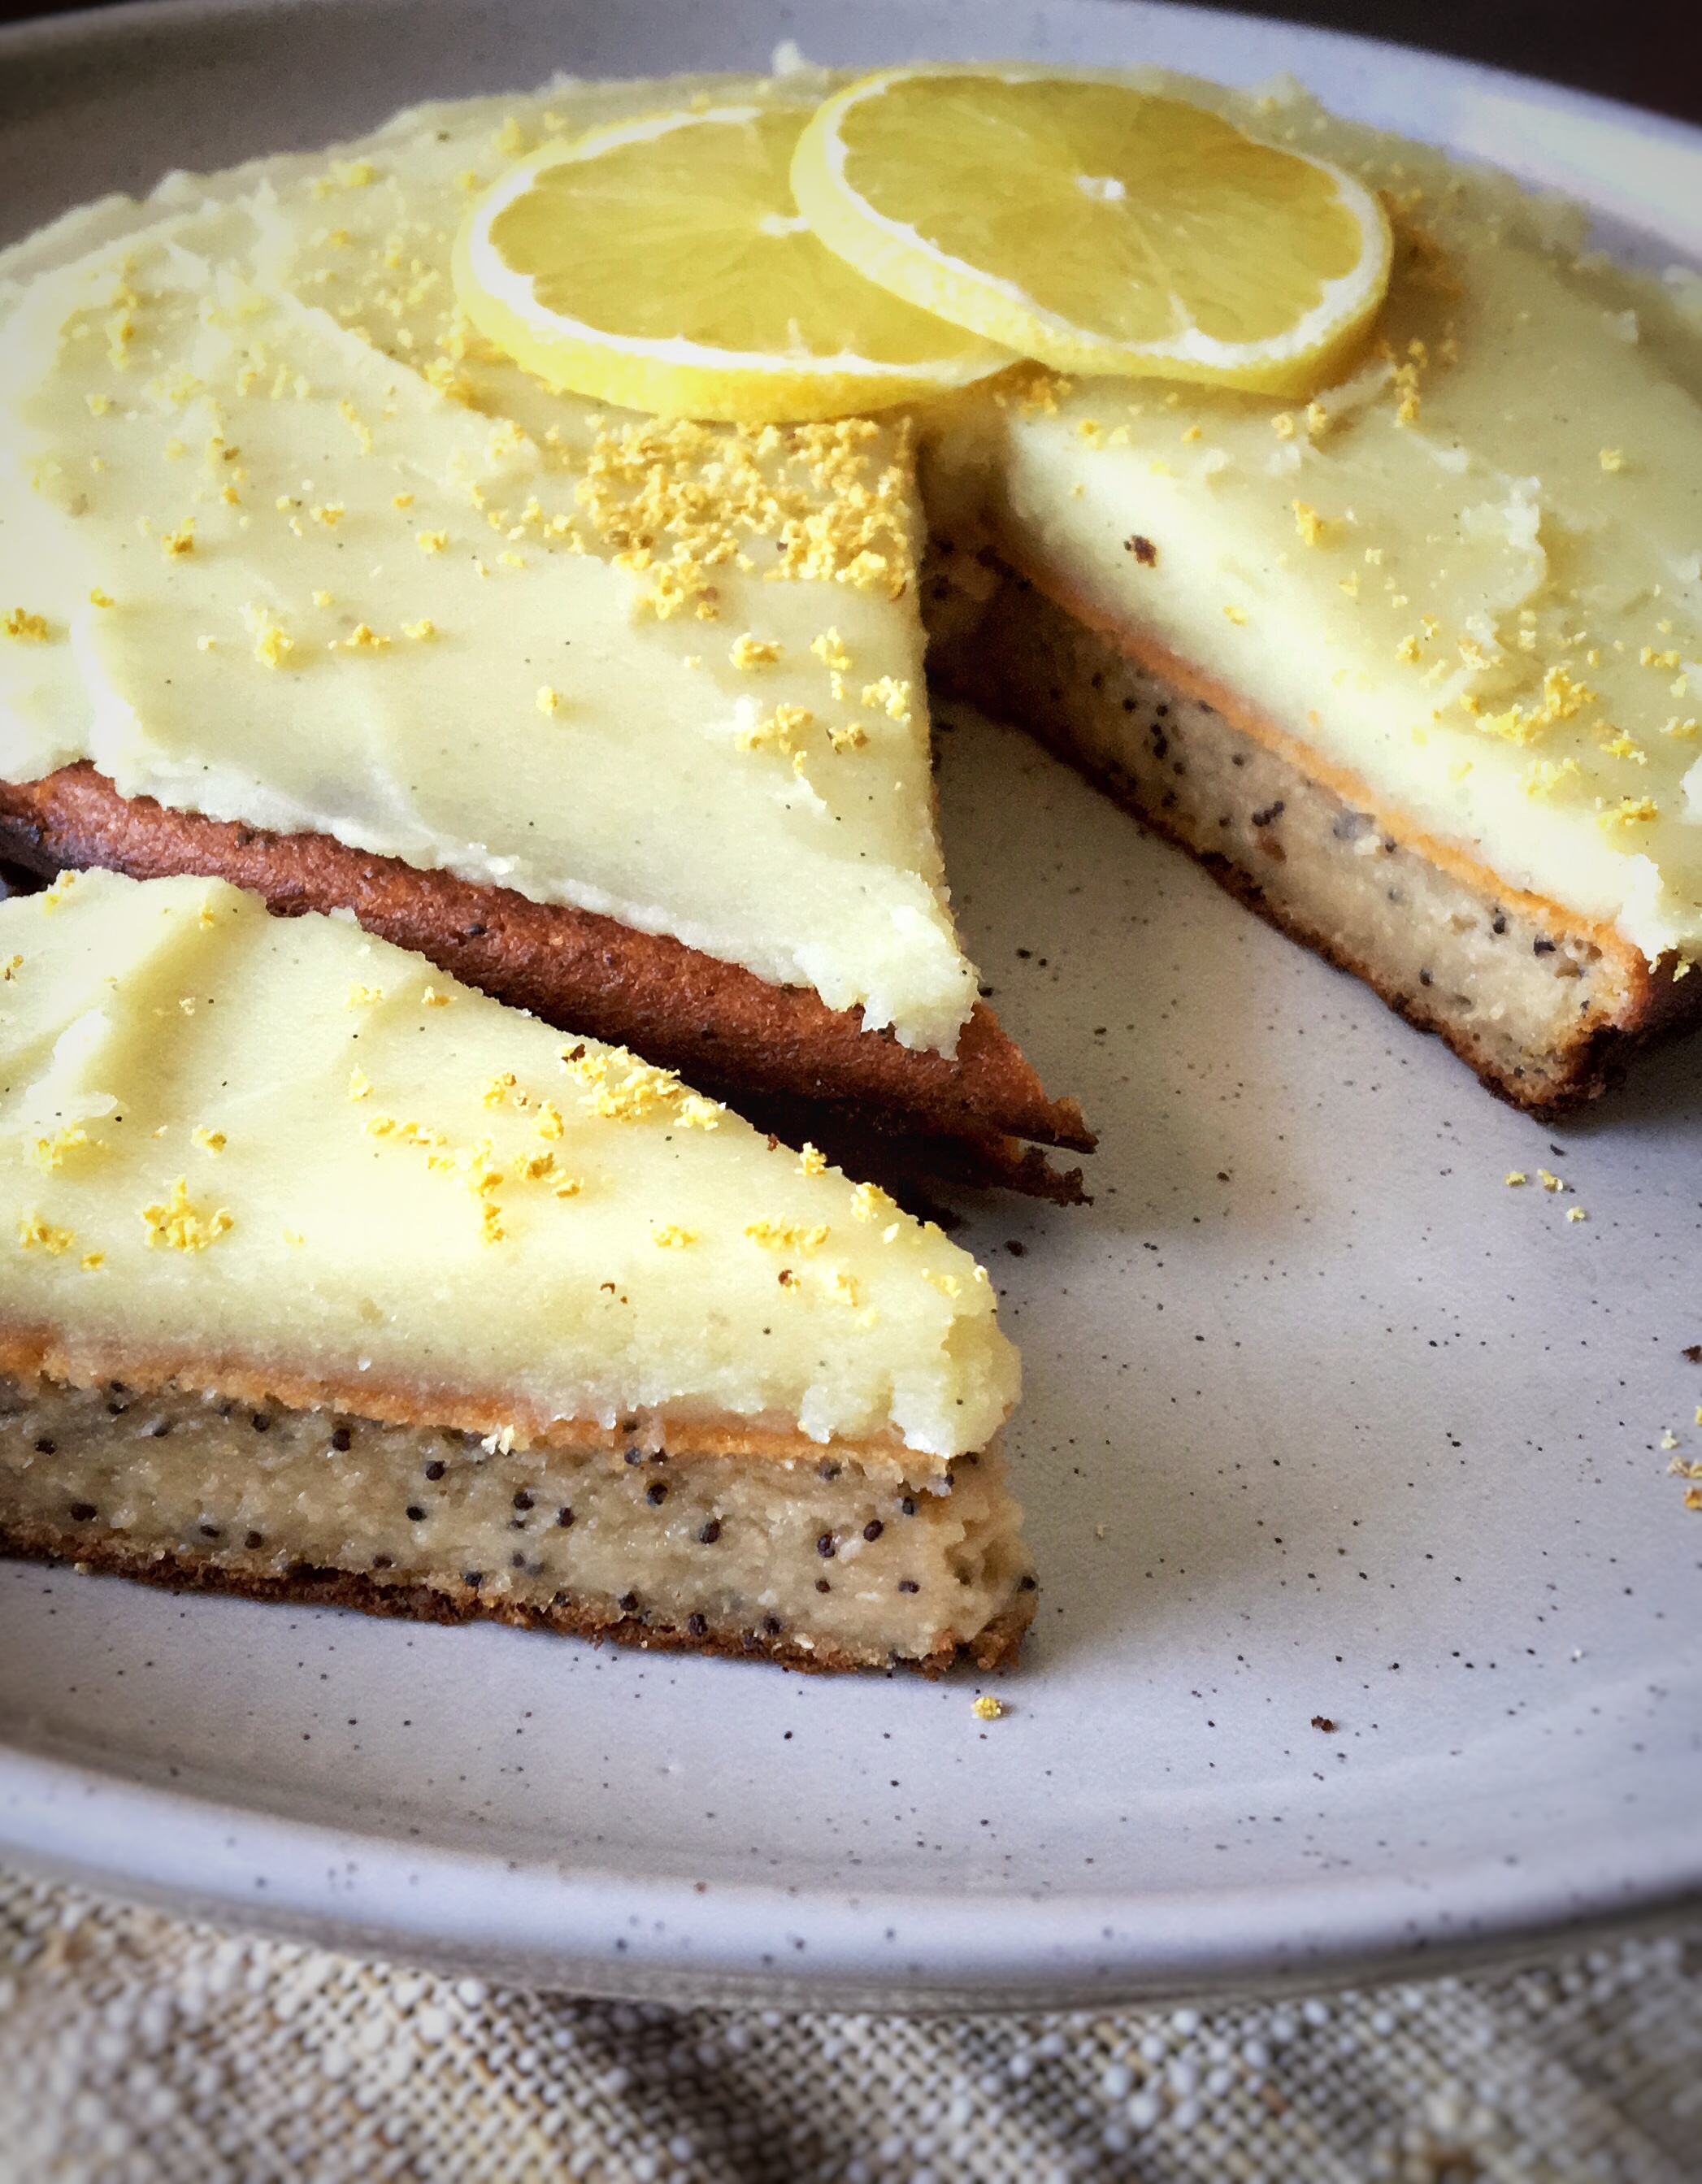
I’m team lemon on EVERYTHING, If I get a drink with fresh lemon in, I will eat it. I love the bitter, sweet taste and I find its so cleansing and refreshing.
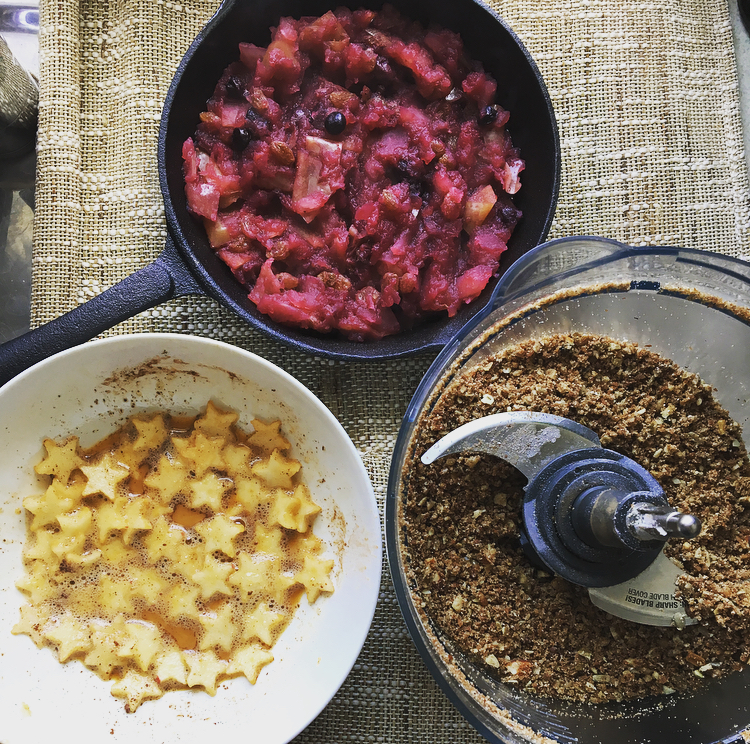
I have really enjoyed making hotcakes in a skillet pan recently as it’s so easy to blend all of your ingredients together, pour in a pan and have the oven do the work for you. Sometimes pancakes in a frying pan can be so time consuming especially when you just don’t have the time. This recipe is fairly easy as you merely need to add pancake mix, egg, banana and milk to make the hot cake.

Let’s get talking about that frosting….. It’s creamy, It’s tangy, It’s sweet and its super delicious!
Japanese sweet potato’s are rich in antioxidants, including vitamins A and E, a source of healthy starch and fibre. As they are a little sweeter than the traditional orange sweet potato, they make a great additional natural sweetener to any kind of cooking and baking.

Ingredients:

serves 1-2

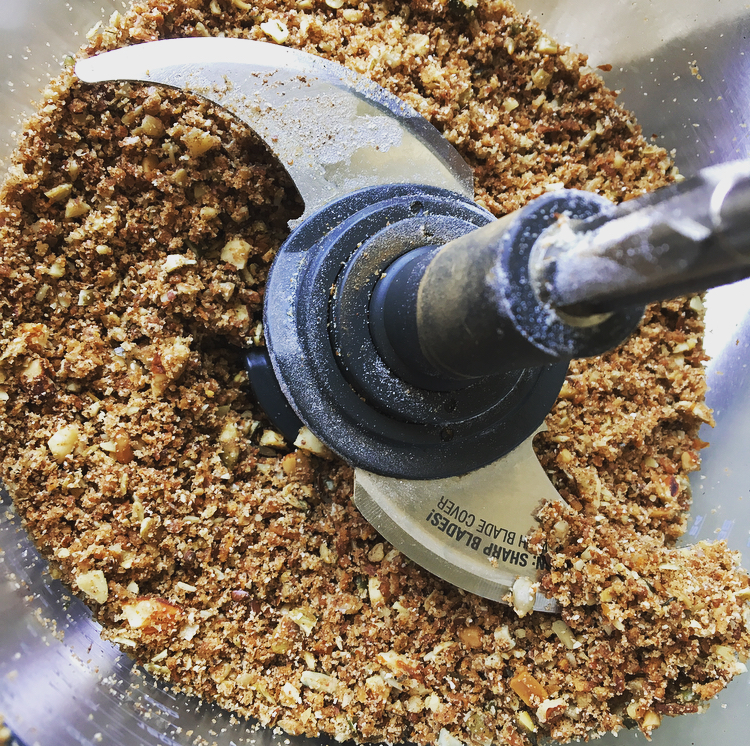
Place all ingredients into a mix bowl or food processor

  • 1 tbsp Poppyseed’s
  • Juice of half a fresh lemon
  • 1/2 cup of Cavassa Flour
  • 1/2 cup of almond meal
  • 1/2 cup coconut flour
  • 1 tsp baking powder
  • Pinch of salt
  • 1 tsp pure vanilla extract
  • 1 banana
  • 1 pasture raised egg

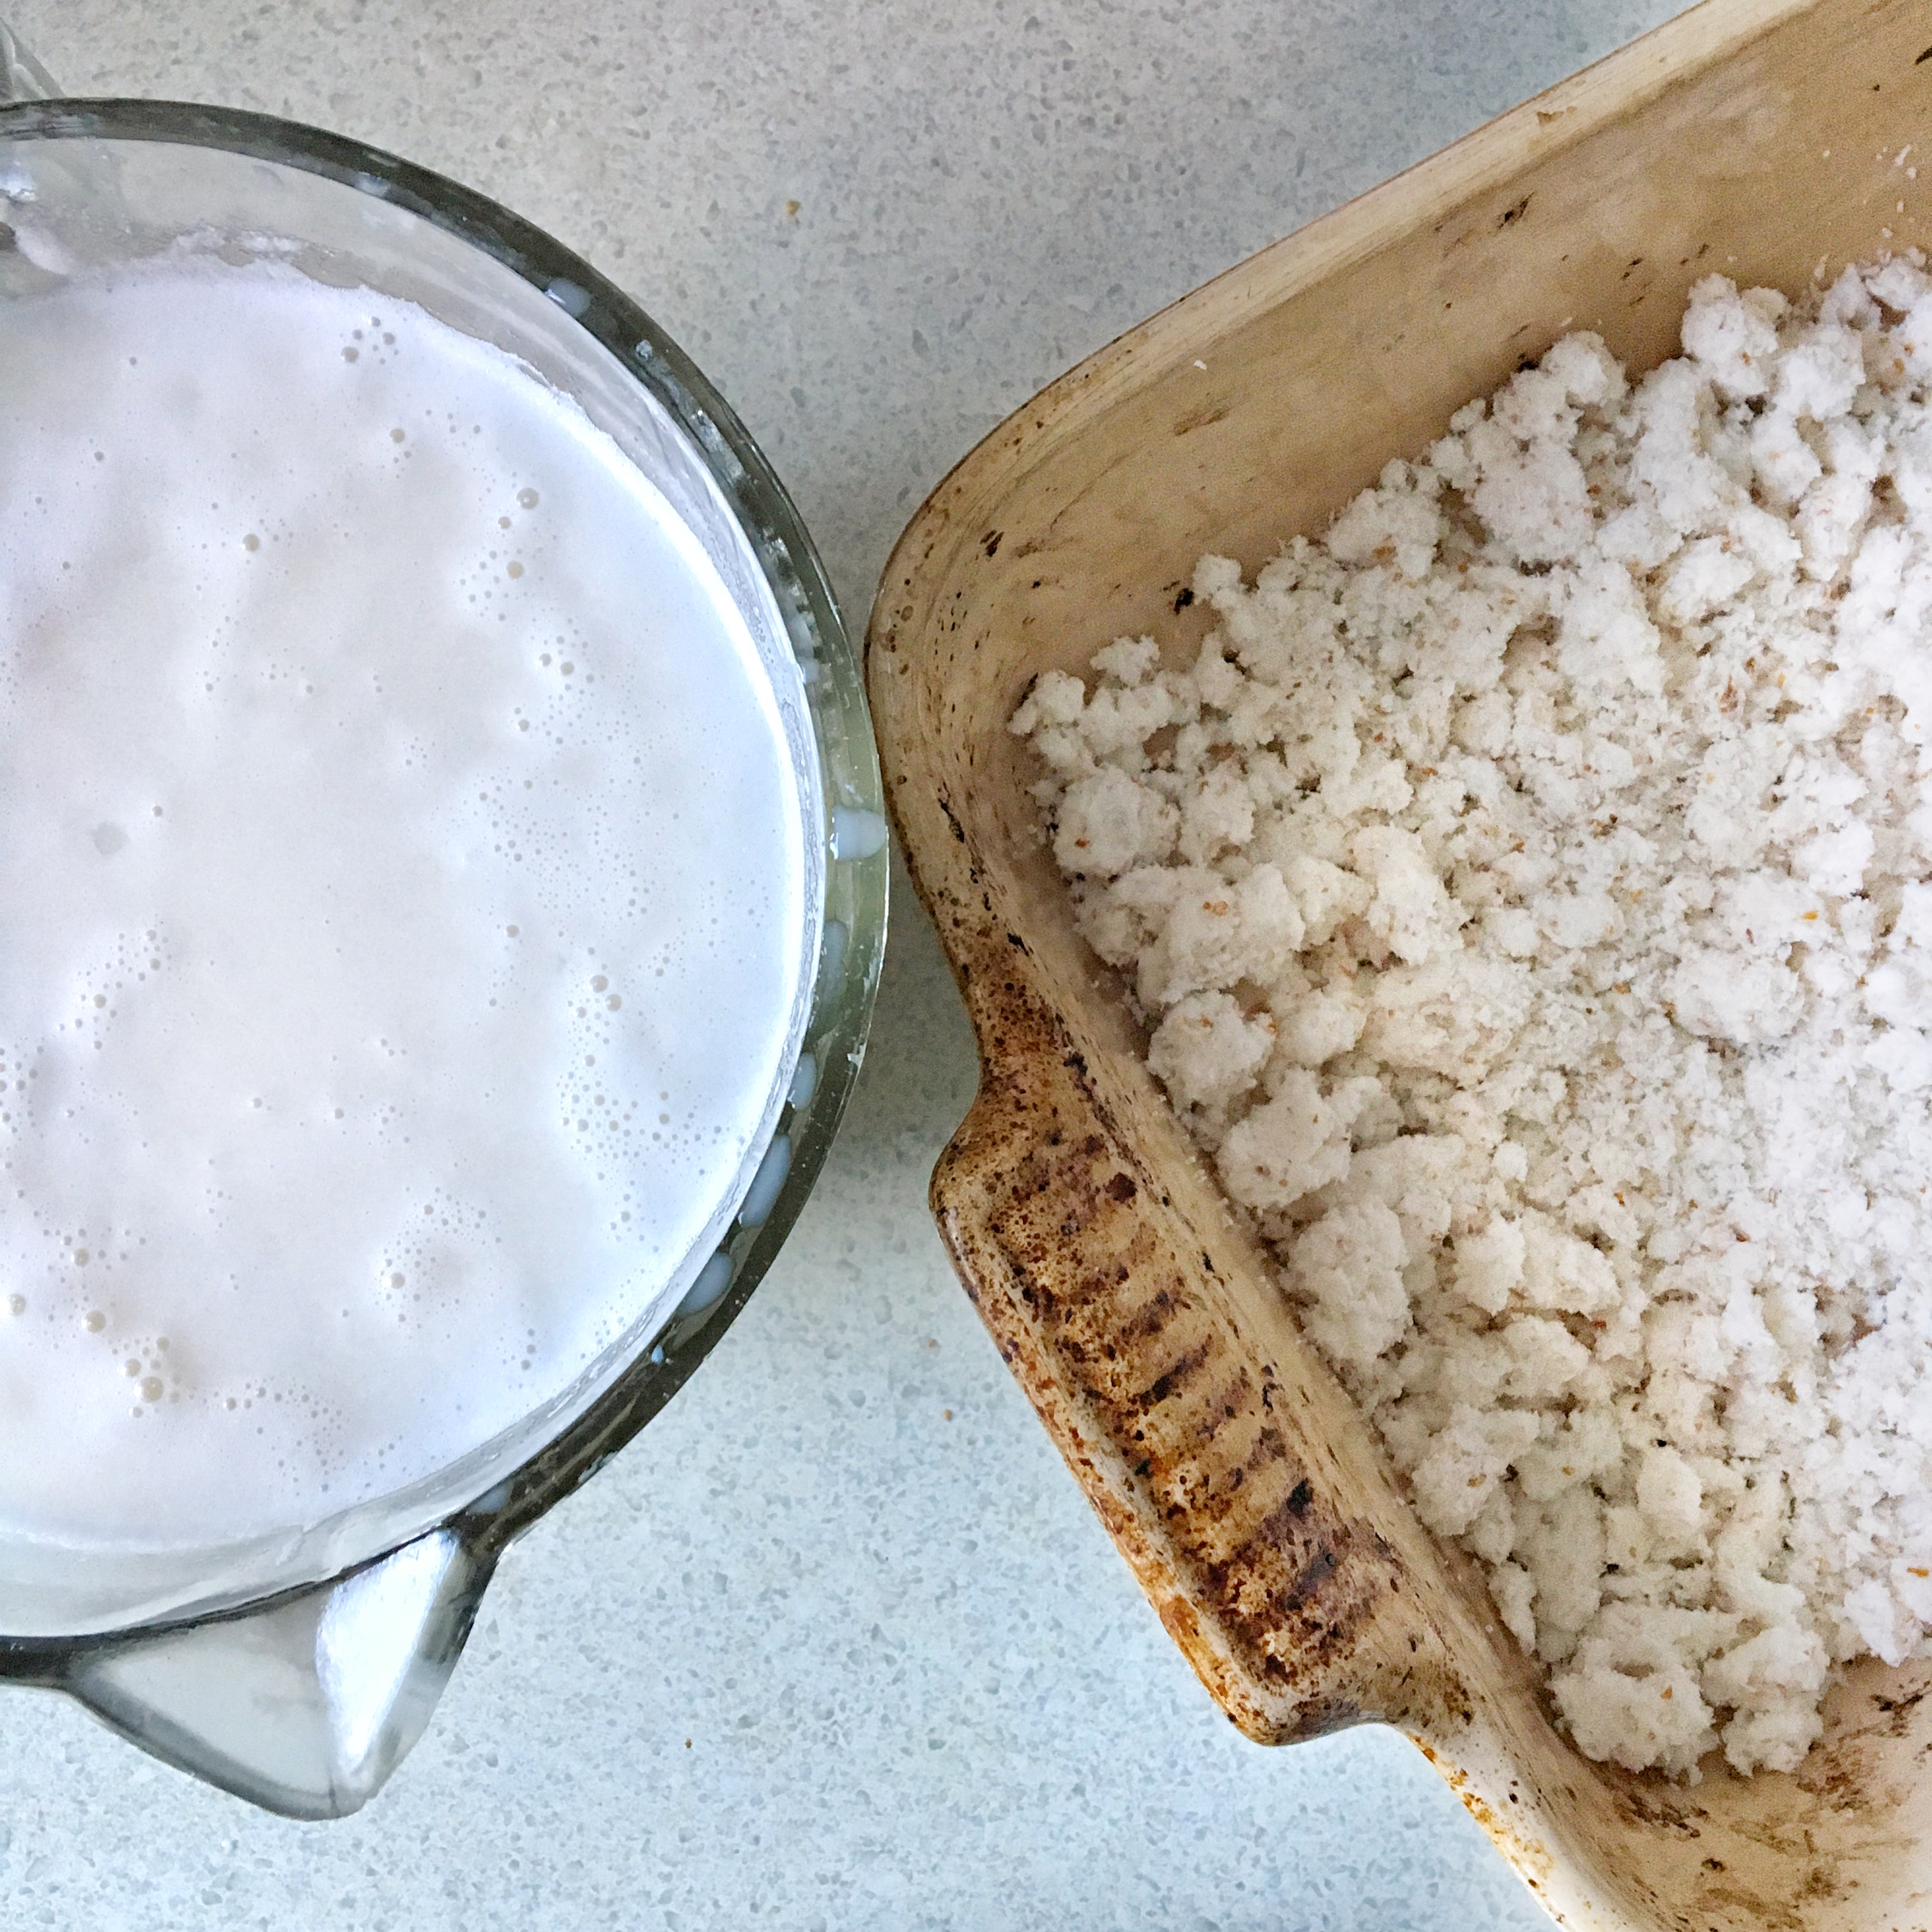
Blitz up or whisk your ingredients together and pour into a oil coated skillet pan. Place the pan into the oven for around 25-30 minutes at 200c until the cake has browned. Depending on how much bicarb you use the cake will rise a little – This particular skillet cake is very moist and dense. BE CAREFUL when removing your skillet from the oven, remember these get extremely hot.

Frosting:

  • 1 small purple or white sweet potato peeled and boiled
  • 1 tsp of vanilla extract
  • 1 tsp maple syrup
  • Juice of half fresh lemon
  • Zest of one fresh lemon
  • 1 1/2 tbsp coconut cream

Start by peeling your sweet potato then chopping it into small cubes to then place in boiling water. When the sweet potato is cooked through and soft when pricked it is ready to add to your food processor (or mashed with a fork) along with all the other ingredients listed above.

Mix until you have a smooth rich consistency, you should be now smelling that refreshing sweet lemon!

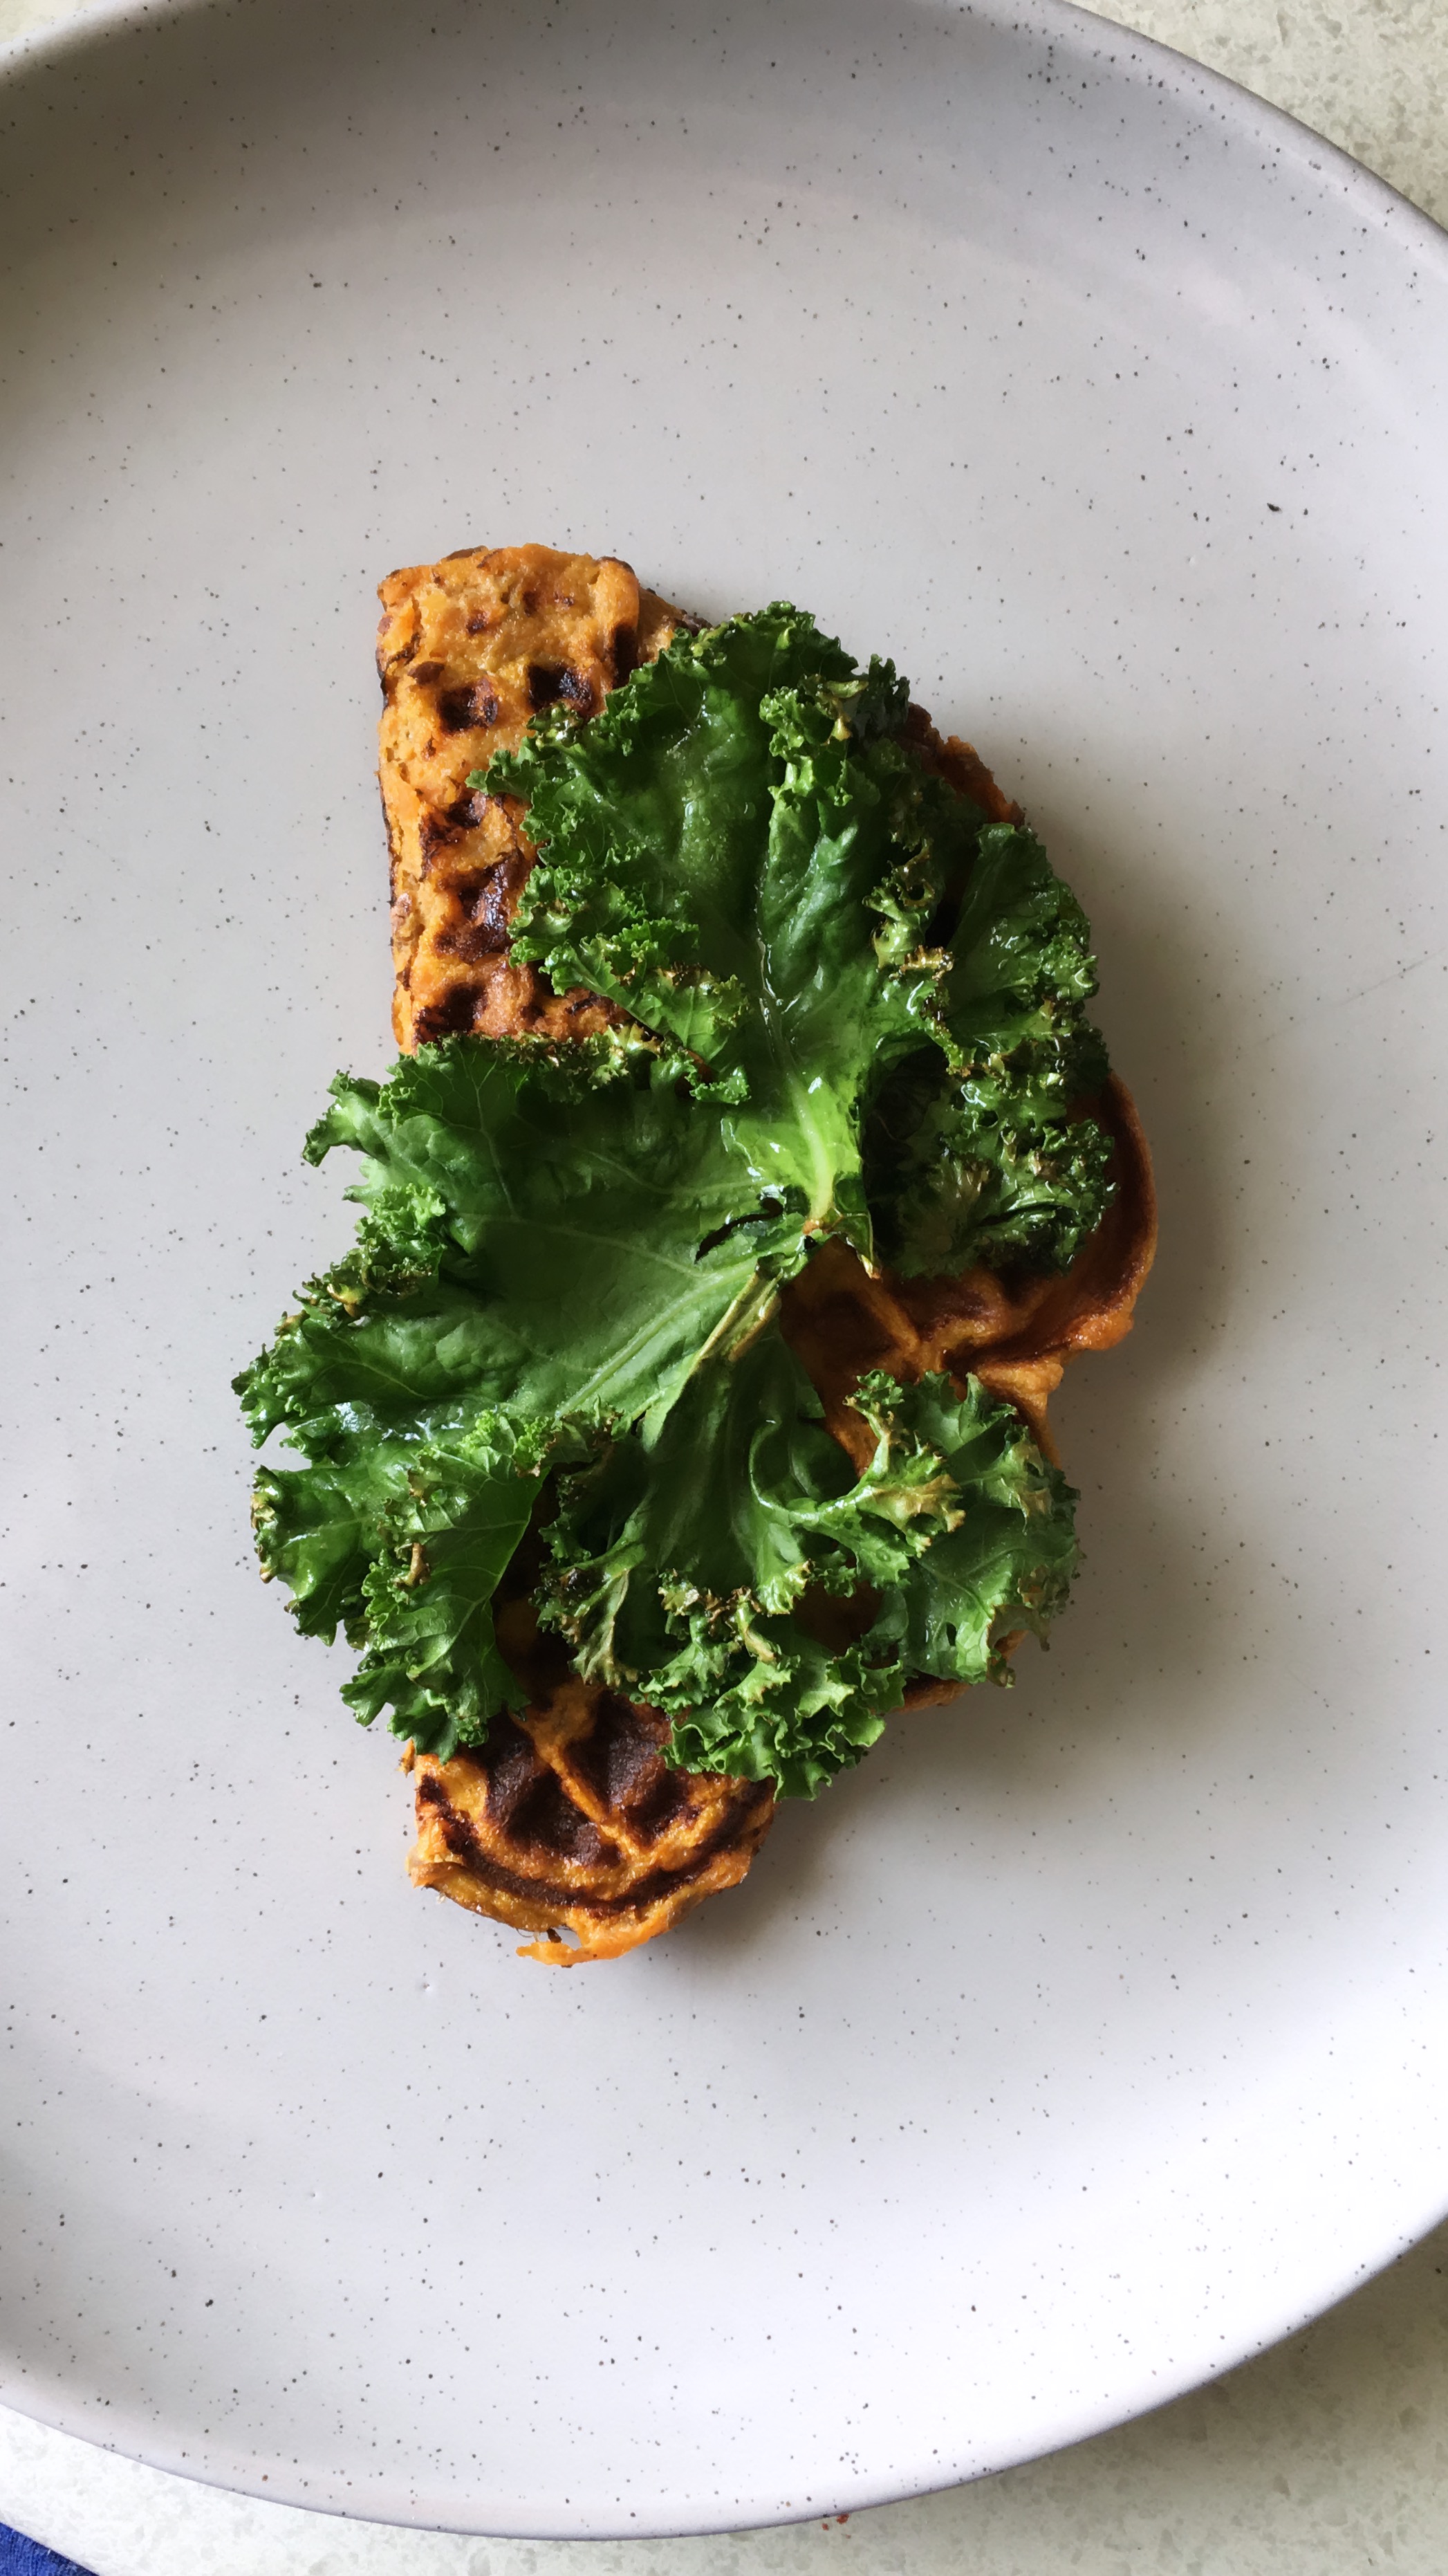
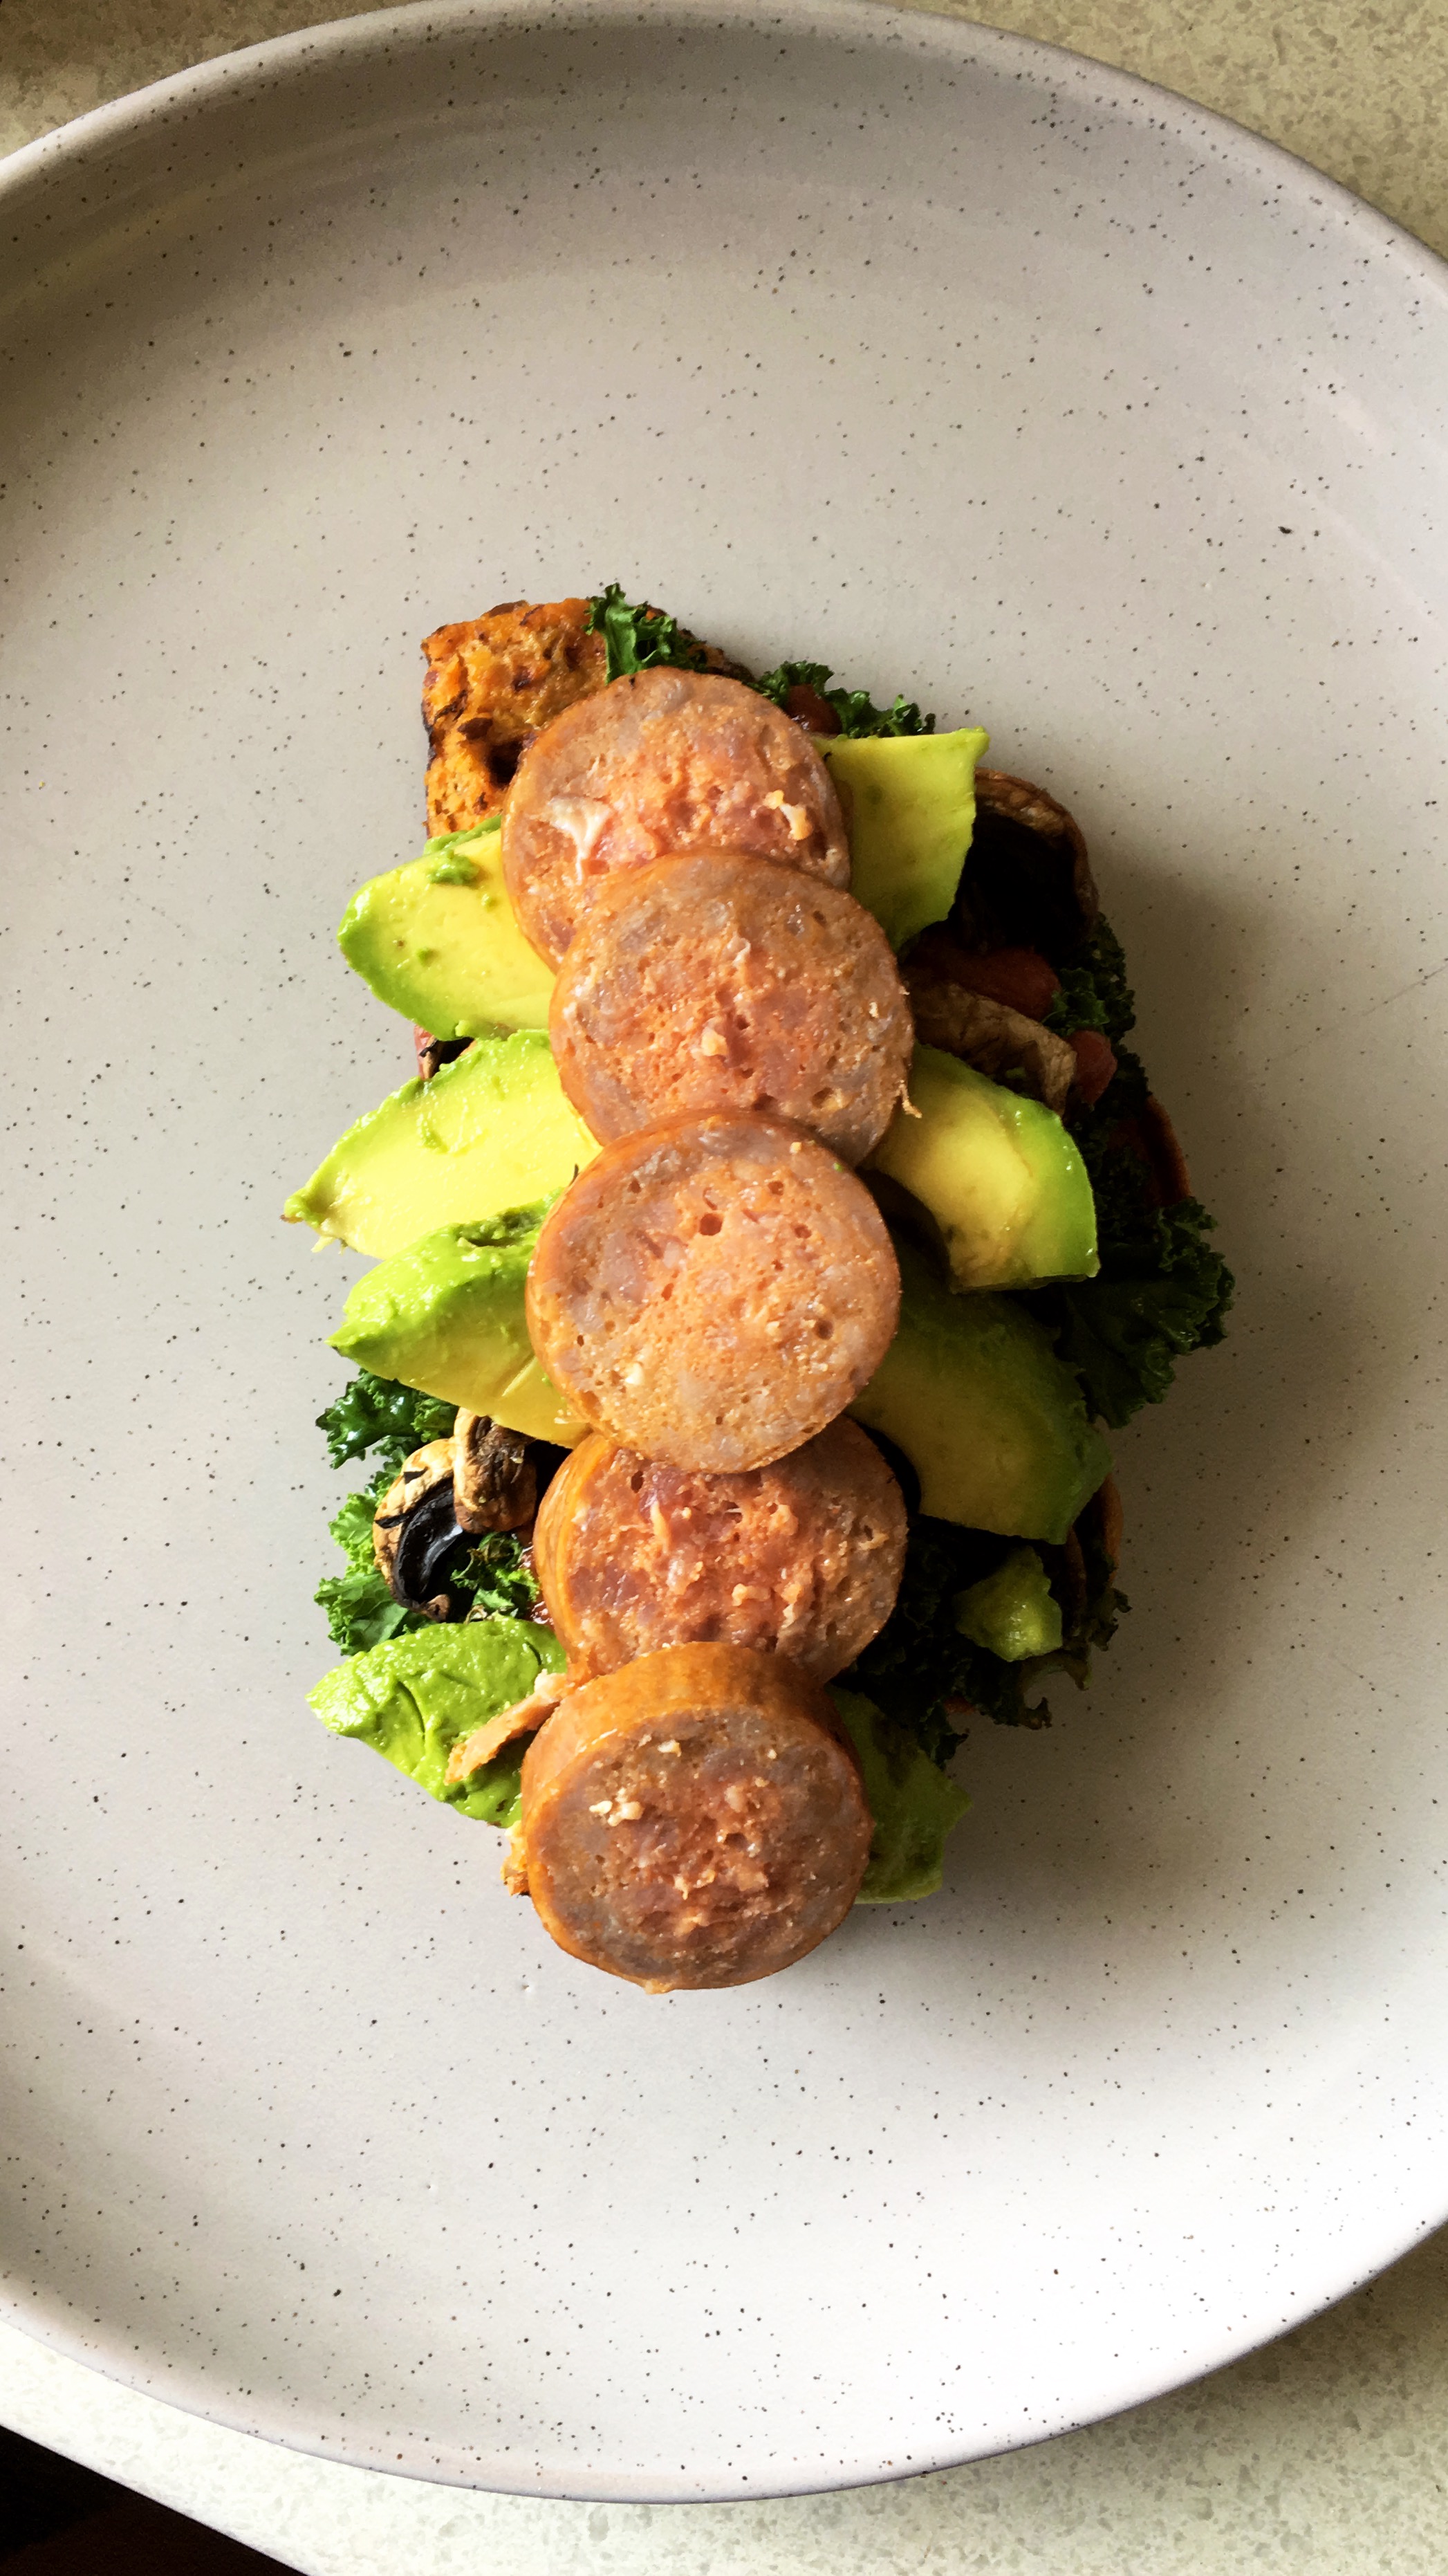
When your skillet cake is cooked, remove from the oven and allow to cool for 10-15 minutes before spreading on your delightful frosting. You can decorate this as you wish and can always add additional sweetness to the final serving.

This sweet little tea cake is great for breakfast or just as a tea or coffee cake. Enjoy x

Drink

Coconut Milk

Another fantastic milk alternative.

I tend to stick to nut milks because in my opinion, when made correctly, they are the most delicious! I have attempted Hemp milk and I was utterly disappointed when I tried it was not what I had hoped and dreamed. Not to say you won’t like it, it’s always great to give everything a try. 

Coconut milk I feel has a lot less of a creamy texture unlike almond milk. Coconut milk is refreshingly smooth and light to drink. 

I made a batch using some leftover coconut flesh which I plucked out of the shell, peeled, soaked over night, blitzed up in a blender along with some filtered water and then strained in a nut milk bag. 

Yes, it may be a longer process than buying your own BUT, you will not find the same taste freshness any store bought but milk than making your own. That is guaranteed. 

Here I have; 

  • 1 cup of fresh coconut flesh
  • 900ml of filtered water 
  • Pinch of salt for flavour

I never sweeten my milks but you can if you like with a choice of many natural sweetener’s.  

Bake up the coconut meal into coconut flour on a low heat for around 15mins and use within 1 month. Store in an air tight container. 

If you haven’t already check out my Almond milk recipe below* https://goodnessgreen.blog/2019/02/11/no-split-almond-milk/

Eat, Savoury

Paleo RAMEN bowl

Winter is nearing and the call for something warm, filling and soul soothly good for you is here. This Paleo ramen bowl is completely inspired from a trip I took last Christmas to Japan. The hometown of pure bone broths, handmade noodles, fresh vegetables and the tastiest kimchi! 

Japan was a foodie’s delight! Street food, weird looking desserts and drinks, it may all look a bit weird and wonderful but, in my opinion, the Japanese do food well. There’s so much authenticity and craft in each dish, you can really see the care and love taken to make even the simplest of meals. 

Back to the ramen…..

There is no real ‘standard’ ramen in Japan as each state has there own flare and create there verson of a ramen bowl slightly differently, this could be different meats, different broths, varies spices or a combination of them all. I have created my own Japanese hybrid style ramen bowl based on the experiences I had and take away ideas just from flicking through a menu and guessing what was in each bowl from looking closely at the photos.

I quickly found that ignorance is bliss as sometimes you could literally be eating anything. Totally good for you and nourishing, but traveling with a friend who is vegetarian trying to adapt the menu to Japanese waiters that speak absolutely no English is as we found impossible. You eat what your given. Offal, lung, intestines, oesophagus, ALL the organs – but honestly when you don’t know, you really can’t tell. This ramen bowl doesn’t include any organ meat – HOWEVER if you want to add it in, go for it.

Ingredients: 

Makes 2-3 serves

Broth

  • 1 tsp Meadow and Bone both concentrate boost 
  • 2 tbsp Anchovy sauce (this is fermented anchovies – typically best found in an Asian store)
  • 1 tsp chilli flakes
  • 1 tsp garlic powder
  • 1 tbsp coconut aminos
  • 1 tbsp Fresh ginger
  • A pinch of salt and freshly cracked pepper

Filling and toppings

  • Mixed Asian mushrooms
  • Snap peas
  • Fresh red chilli
  • Spring onions
  • 100-150g grass fed and finished Mince beef
  • Chinese five spice
  • Kimchi
  • Spaghetti squash
  • Poached egg

Method:

Sauces I have found always taste more intense when left to sit and ferment for a day or two. If you like a flavoursome less subtle flavour then cooking up this broth on the day of works really well too.

Start preparing the broth by scooping a tsp of the bone broth concentrate into your saucepan, adding 3 cups of boiling water. Place the saucepan on the lowest heat as we want this to simmer slowly, warming the broth, to ignite the ingredients full flavour. When the mixture has dissolved, add in your anchovy sauce, freshly grated ginger, chilli flakes, coconut aminos, garlic, salt and pepper.

Let this sit and simmer for around an hour. It will smell fishy due to the anchovy sauce, BUT I promise you it will taste incredible, not fishy at all.

Whilst your broth is simmering away nicely, heat up your oven, cut the spaghetti squash in half and place in a tray with the water, just covering the surface. Leave in the oven at 200c for around 20-30mins. As soon as the squash noodles start to pull away from the skin (test this with a fork) you can remove from the oven and let it sit for 5mins as it will be piping hot.

With the toppings, you can cook these up as you wish. I pan fried my mince meat on a low heat and added a tsp of Chinese five spice.

I also pan friend the snap peas and mushrooms briefly to soften, then chopped up the chilli and spring onions raw and sprinkled them in when the broth and noodles are in the bowl together.

When your broth tastes pretty dam delicious, take the pan off the heat and start scrapping the noodles from around the squash skin and place into bowls pouring as much of the broth into the bowl as you wish. Add in your fillings as well as some added extras like kimchi and a poached egg. You can always add a raw egg, given its straight away as the heat from the broth will cook the yolk and white making it safe to eat.

Remember the louder the slurp the better – This is a massive complement in Japanese culture, so when all that remains is your delicious tasty broth, pick up the ramen bowl and slurp away until your bowl is empty and you stomach is full!

Enjoy/Tanoshī

Eat, Sweet

Fruit Crumble

Who doesn’t love crumble?!

For me this was a staple all year-round Sunday dessert that mum would whip up after a delicious roast dinner.

This recipe is a little more extravagant than mums original but still the same tasty ingredients with a paleo twist.

Here’s what you need:

  • 4 granny smith apples
  • 3 cups of frozen mixed berries
  • Ground cinnamon
  • Ground nutmeg
  • Desiccated coconut
  • 150g mixed nuts
  • 1-2 cups of almonds meal
  • 75g mixed seeds
  • 1 egg
  • Coconut sugar

Fruit

For this recipe I use granny smith apples, blueberries, blackberries and raspberries – Your standard summer fruits.

I cook these up in a pan with ½ a cup of water and allowed the fruits to stew. The apples will need to be boiled beforehand as they are a lot denser than the berries. Boiling the apples will take around 10mins. You can test their softness by pricking them with a fork. 

When cooked I added a tsp of cinnamon, a sprinkle of nutmeg and a tbsp of desiccated coconut.

Crumble

This crumble was a mish mash of mixed nuts and seeds, you can stick to one nut meal if you like. I however enjoy a combination.

For this mix I blended a handful of each: Almonds, brazil nuts, pecans, hazelnuts, walnuts, sunflower seeds, pumpkin/pepitas seeds, mixed with 1-2 cups of almond meal, a tsp of cinnamon a sprinkle of nutmeg and 1 tbsp of coconut sugar.

Prep and cook

When you have combined all your fruits and are happy with the constancy and texture and the mixture to a skillet pan or casserole baking dish. Pour your blended nut crumble over the fruit and if you like to fancy it up a bit then you can cut out some shapes of an apple, dip them in some whisked up egg yolk and decorate the top of your crumble.

The crumble can cook in the oven from 30-45minutes – until the crumble is nice and crispy, once browned to your liking, you can serve this delicious pudding up with ice cream or more mixed fruit. Personally, COYO coconut ice cream or PANA vanilla bean coconut ice cream is the go-to for this nutritious and delicious dessert or hell, why not, breakfast 😊

Eat, Savoury

Sweet potato Waffles

On a previous post –https://goodnessgreen.blog/2019/04/09/sweet-potato-sub/ I’ve discussed my two ingredient sweet potato waffles for my sweet potato subs which are so quick and easy to make. These waffles are a little denser and wholesome as they contain nut flour and egg white. 

Either way you make them they are delicious and a great breakfast meal.

Ingredients:

Serves 1-2

  • 1 cup of pancake mix (see previous pancake posts)
  •  1 egg yolk
  • 1 egg white
  • 50g sweet potato mash
  • 1 tsp Paprika
  • Pinch Salt and cracked pepper
  • Sprinkle of chilli flakes
  • ½ tsp of garlic powder

In two separate bowls add egg white to one bowl, whisk up until light and fluffy, then in the second bowl add the remaining ingredients and mix together.

When the egg white is fully whisked with stiff peaks, start to fold in the sweet potato ingredients to create a thick batter and add to a heated waffle iron – this will take around 10 mins to fully cook. 

Here, I have added a poached eggs, sweet potato, red cabbage, red onion, mushroom and radish to bulk it out and I must say it works great. Add whatever toppings take your fancy.

Try THESE! 

All the same ingredients, with added beetroot, you can add fresh raw beetroot by peeling the skin, dicing and cooking in hot water, when soft or you can purchase pre blanched beetroot balls which are already peeled and soft. Add the beetroot to your ingredients remaining ingredients to blitz up in a food processor. 
Adding beetroot adds a little extra sweetness and let’s be honest they’re so PRETTY and PINK! 

Why try Beetroot? 
Beetroot is packed with essential nutrients, they are a great source of fiber, folate (vitamin B9), manganese, potassium, iron, and vitamin C. 
Beetroots has been shown to improve blood flow, lower blood pressure, and increased exercise performance. 
If you’re ever thinking of adding sweetness to any meal try a root vegetable such as roots and tubers as these contain many quality slow burning sugars. 

Savoury

Pesto spinach breakfast wraps

Plant based wraps? How does that work?

I’m excited to announce the world is evolving! More and more people are becoming aware of varies plant based ingredients to substitute those that our bodies may not be designed to consume and for some of us, it’s merely fun and different, experimenting with new foods.

GRAINS for years have been a staple plant source to make many forms of breads, crackers, cakes, cereals and to be honest most foods. With this being the case, a popular grain that is globally consumed on mass means its going to be grown and produced in mass, unless you’re either growing your own and or buying local and organic, you’ll be lucky to find any form of grain that hasn’t been genetically modified and sprayed with herbicides and pesticides in order for it to grow to its full potential.

So what can we do to make a conscious, positive change?

I once heard the quote “When life gives you lemons, make chocolate cake and leave people wondering how you did it? I remember thinking, YES, that’s so good – take what you know and adapt it to be better – utilise what you have to the fullest and make it a success.

You’re probably thinking ok, ok so just tell us already?! What nut flour did you use this time to make these wraps? Well friends, you’ll be delighted to know I did not use a nut flour, something actually a little harder and more expensive to source, BUT do not be discouraged because it works a treat, it’s PALEO, VEGAN, GLUTEN FREE, SOY FREE and NUT FREE.

CAVASSA FLOUR https://www.ottosnaturals.com

The Link above is the brand I use and it’s pretty darn good.

What is Cavassa Flour?

Cavassa is also known as YUCA ROOT. Unlike Tapioca, Cavassa flour is the entire root, making it much more nutrient dense, very high in starch and carbohydrates – per 100g It’s actually double the amount of carbs than a sweet potato. Not so great if you’re KETO, but a great grain free alternative if you eat via any of the dietary alternatives above.

Tortillas

Tortillas are a great casing for your ultimate mealtime filling, whatever it may be, you can get creative in any way you like. Below I’ll list the ingredients I used to make these delicious breakfast wraps but feel free to take the Tortilla recipe and make whatever you like with them.

Ingredients:

Makes 2 – 3 Tortillas

  • 1 cup Cavassa Flour
  • Pinch of Salt
  • 1/2 cup warm water
  • 2 tbsp olive oil
  • 1 cup fresh spinach
  • 1 cup basil
  • Cracked black pepper

My chosen filling Ingredients:

  • Button mushrooms
  • Homemade guacamole
  • Roasted sweet potato
  • Red onion
  • Broccolini
  • Red pepper/capsican
  • Sprouted Chickpeas
  • Pasture raised egg
  • Extra virgin olive oil

Method:

To make the tortilla’s you can add all ingredients into a food processor and blitz up. If the mixture is too wet – add more flour. If the mixture is too dry and crumbly – add more water. Simple.

Pour the ingredients out of the food processor bowl and start to knead the dough into a ball on your kitchen worktop. When you have a nice dough ball formed you can heat up (ideally a skillet) pan on a high heat with coconut oil and wait until the oil has melted and started to smoke.

Divide your dough into 3-5 balls and flatten out with a rolling pin – add more flour if needed to avoid the dough sticking to the rolling pin. If you have a Tortilla press – even better, if not just roll the dough as thin as a $ coin.

Place your Tortilla into the pan and wait around 90s+ for the dough to puff up and brown. Flip and repeat.

Place the tortillas on a cooling rack to rest for around 2-5mins before eating so they have time to set.

Filling:

I LOVE roasted vegetables so the filling will be the first thing I cook as it takes the longest. I roast all my veggies in separate trays depending on water consumption. So for example sweet potato will be in it’s own separate tray as it doe not contain much water. Mushrooms, broccolini, red pepper and red onion, hold more water therefore they can go in a tray together. The sprouted chickpeas and guacamole go in the wrap last as they are prepared raw.

Once your tortillas are cool, get ready to fill them up! Get creative and pro tip, try not to over fill like I do – less filling = less mess.

I hope they work out great for you! EAT UP and ENJOY!

Savoury

Wallnut and Basil Pesto

Pesto is the besto!

I don’t know about you but pesto, whatever kind is an all around winner for me. What’s not to like? its packed full of nutrient dense herbs, fats and vitamins, and its a flavour powerhouse when made from scratch. Leave the store bought jar aside friends, making pesto is quick, easy and totally worth the time taken to prepare. I add pesto a lot of the time to my meal preps for added flavour over my veggies and it completely transforms a standard meal. On the plus side you don’t need a lot of this wonder paste due to its high fat content – it will keep you full, satisfied and satiated for hours.

Traditionally, pesto will include a parmesan cheese, which I leave out as I don’t eat dairy, however if you’re KETO or fine with dairy and want to add cheese to the recipe, feel free, the fats and salts from the cheese will only increase the flavours into your recipe.

Benefits of Basil

  • Contains Powerful Antioxidants.
  • Is an Anti-inflammatory Herb.
  • Contains Natural Antibacterial Properties.
  • Acts as a Natural Adaptogen.
  • Very high in vitamin K and Manganese

So, If you’re not already convinced to make this deliciously nutritious pesto lets get started with ingredients I like to use to make this flavoursome paste.

This recipe will make around 2 cups of pesto.

Ingredients:

  • 1 bunch of fresh Basil Leaves
  • 1/2 cup of Raw walnuts
  • 1 cup of Spinach
  • 1 tsp of chilli flakes
  • 3 tbsp high quality extra virgin olive oil – the better the oil the richer the taste
  • Pinch of Salt
  • Pepper
  • 1/2 a freshly juiced lemon
  • 2-3 sun-dried tomatoes

Method:

If you have a food processor, this is going to be the easiest way to create your pesto – throw it all in, blitz up and go.

However, if you don’t have a blender or food processor, no problem at all, you just need to finely chop the spinach and basil leaves, then mix in the remaining ingredients and chop to the texture you desire.

Enjoy

Pancakes, Sweet

Easter hot cross bun Pancakes

During the weeks leading up to Easter you can walk in to any bakery or local supermarket and what do you see everywhere? Easter eggs and hot cross buns. 

Being the fussy child that I was, I used to love the smell and taste of a hot cross bun bread but when given a hot cross bun I would sit and pick out all of the dried fruit as I hated ‘the bits’. As I got older, I stoped eating them as I couldn’t be bothered to sit and pick out the contents of the bread filling. 

Then I grew up, my taste buds matured and I learned to love the sweet and sour flavour of the dried fruit along with the warming spices. Cinnamon and nutmeg are two of my favourite spices so I will always sneak these flavours into whatever recipe I can whether it be sweet or savoury. I once accidentally poured half a jar of cinnamon powder into a slow cooked pulled lamb casserole – I honestly thought I had ruined my lunches for the week but once the meat and juices had absorbed the cinnamon flavours and had time to rest, the intense flavour complemented the meat and sauce so much in my opinion that it almost resembled a Moroccan style dish, Winner. 

Anyways, back to these PANCAKES. I was originally shocked at how well these pancakes turned out. They taste just like hot cross buns! 

Adding chocolate to the top, quite frankly sell this pancake breakfast stack as an Easter all rounder. A good call if you’re planning a quiet Sunday morning.

These pancakes are fully paleo approved, however they’re sweet and delicious so low in sugar they are not, but what at easter is?

Check of the ingredients and method to create a stupendous serving of these spiced beauties. 

Ingredients:

Makes around 4-5 pancakes

  • 20g sultanas 
  • Zest of one lemon 
  • Zest of one orange
  • 1 tsp mixed spice
  • 2 tsp cinnamon
  • 1/2 tsp cloves
  • 1/2 tsp ginger 
  • 1 ripe banana 
  • 2 pasture raised eggs
  • 1/2 tsp vanilla extract
  • 1 tbsp collagen powder (optional) 
  • 1/2 a cup of natural almond milk – see recipients for no split almond milk here to make your own.

PANCAKE MIX:

  • 2 tbsp of Cavassa Flour
  • 1 tbsp of almond meal
  • 1 tbsp coconut flour
  • 1 tsp baking powder
  • Pinch of pink rock salt

Toppings/Filling ideas: 

  • Organic cultured coconut yoghurt
  • Paleo Granola
  • Dark chocolate (high percentage coco)
  • Blueberries 
  • Maple syrup or cinnamon honey

One thing I really love about my pancake recipes is that they’re a one and done job. All ingredients into a food processor, blitz up and go! Depending on the consistency, if the mixture is looking a little thick you can always gradually add more nut milk to create a thinner consistency. 

Heat a non stick pan with half a teaspoon of coconut oil on medium heat, wait until melted down, then add a tablespoon of your pancake batter to the pan. Create your perfect pancake shaped blob and await the air bubbles to arise, giving you the green light for flipping. Each side may take between 1-2 minutes depending on the strength of the heat generated from your cooking top/stove. 

Once lightly browned on each side, set each pancake aside and leave to cool before creating your stack IF you want to layer your yoghurt in layer by layer so the yoghurt does not melt. Otherwise if you’re happy to eat these as soon as they are all cooked and ready to go with a dashing of maple syrup and or honey, then stack away. 

There is no right or wrong way to load of this breakfast plate with more sweet and savoury goodness for decoration, do what you like but do it with love and I assure you they will taste full of all your Easter desires combined!

Enjoy friends, peace and love to you this Easter. 


Savoury

Homemade Paleo Ketchup

The staple condiment in most people’s cupboards is TOMATO SAUCE aka Ketchup.

It’s one of those magical sauces that literally goes with everything, yet why are all the store bought bottles full of crap and so much sugar?!

Well friends, this ketchup is delicious, tangy, nutritious and not a chemical in sight! Plus is so easy to make, not to mention cheap.

Ingredients:

To make around 250 – 300ml

  • x1 small can of tomato puree
  • x1 tin of chopped tomatoes or buy and use fresh/organic – ensure you wash them first
  • 2 tbsp apple cider vinegar
  • 1 tsp sweet paprika
  • Freshly ground pepper
  • Pinch of sea salt
  • Want some extra sweetness? Add a tsp of honey, maple syrup or coconut sugarM

Method:

Add tomato and tomato puree into a saucepan until texture has thickened.

Pour this mixture into a blender along with the remaining ingredients. Blitz up on a high speed until the consistency and texture is smooth.

Leave the sauce to cool before bottling up. The ketchup must be kept refrigerated and will keep for up to a month. Shake vigorously before use.

Enjoy

Animal Protein

Sweet potato sub

Ok, so who honestly walks past a subway and gets that instant desire for a subway sandwich?! You walk past the store and smell the fresh bread – it’s HEAVEN.

I know however for me, recently the idea is way better than the reality.

Eating clean for so long and generally fulling my body with nourishing ‘real, fresh wholefoods’ when I tend to eat a processed food, I feel really disappointed, it’s not as good as I remembered and it doesn’t taste real – bland flavours, stale textures and so on.

So, what does one do when you have this craving? Something wholesome and filling, but also good for me – Go make it your damn self!

I can assure you, once you buy yourself a waffle iron you will see the possibilities are endless with what you can make and create! When I brought the waffle iron, it was primarily to make sweet waffles and I think I’ve make them once in the year that I’ve had it, every other recipe has been savoury.

This waffle sandwich is actually beyond easy to make and all in all takes about 2minutes to cook and just about the same time to prep.

You can fill this beauty with whatever you would usually fill a sandwich with, mine includes;

• Kale

• Avocado

• Free range/organic Pork sausage

• Homemade paleo Ketchup

• Portobello Mushrooms

• Fried egg

Il be honest, like my tortillas, I pack them WAY too full with all the things, so realistically, everything falls out as soon as I pick it up because I’m like a kid in a candy store and I can’t seem to understand balance! So, these are a lot of ingredients to have in one sandwich but as I’m greedy I make it work, however if you want to add less and enjoy your food without it falling out all over your lap/plate then I do recommend adding less.

Step 1:

  • To prepare your Sweet potato ‘sandwich’ you first need to finely grate a small sweet potato – Skin on or off its completely up to you.
  • Add the grated sweet potato to a bowl and add a cracked egg. Mix the egg and sweet potato together.
  • Add some flavour – This could be paprika, mixed herbs, chilli sauce, Cajun spice, garlic, whatever you like or if you’d rather, just leave it plain.
  • Heat up your waffle iron and pour the ingredients when the iron has reached its optimal cooking temperature.
  • Wait around 2 minutes to cook
  • When cooked leave to cool and rest for around 2 minutes

Step 2:

MAKE YOUR MASTERPIECE

Get your greens in!

Here I’ve added lightly fried kale in coconut oil, you can add whatever green leaf you like.

See Below how I’ve built up each layer

As I mentioned above sometimes ‘more is less’ as the sweet potato is so soft and delicate, cramming too many fillings inside will definitely make this sub difficult to eat, personally I would limit your filling to 3 ingredients per sandwich, to make your life a little cleaner and easier.

If you have any creative ideas on ways to build this super sub please comment and let me know your thoughts.

If you’d like to learn how to make your own Paleo ketchup to add to your sandwich please scroll through the savoury list on the homepage to find the recipe. Or click the link to take you there: https://wordpress.com/view/goodnessgreen.blog

Enjoy