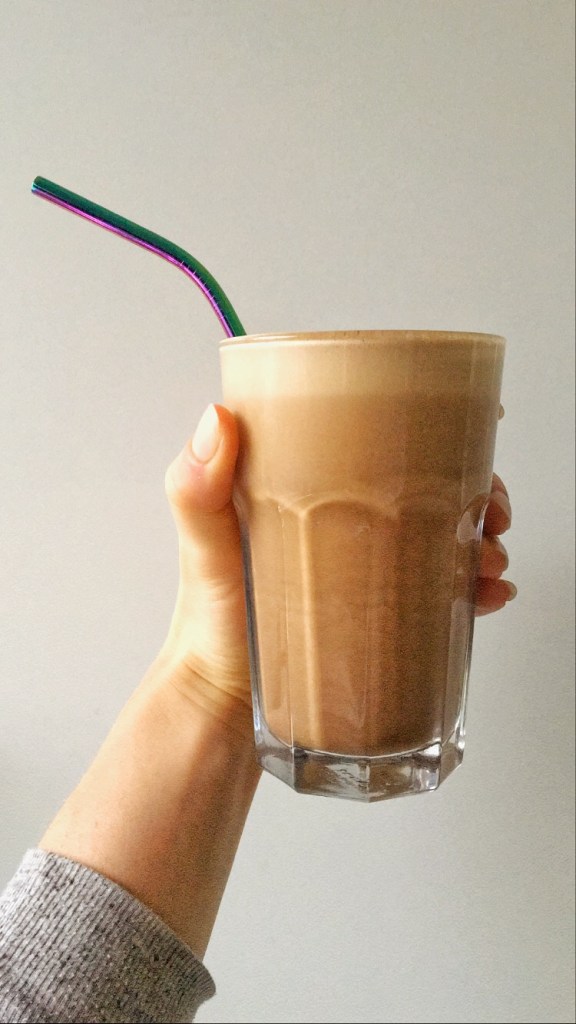
They’re days we act like adults, because we have to, then they’re are days we wish we could be a kid again – I say we combine the two and have the best of both worlds! Lets mix our childhood chocolate milkshake in with our morning coffee and get all the grown up SH*T done. And look, I’ve gone one step further with a mermaid straw, each to there own, do what you’ve gotta do to get your caffeinated fix. heres mine;
First time I tried one of these little beauties was when I was living in the UK and a friend had suggested I try them out as they were insanely delicious (this being the standard well known peanut butter cup brand) I recall being instantly hooked and tried every single variety the company brought out – the cereal I’m still yet to try.
Stepping away from peanuts when I became strict paleo, I began creating my own nut and seed spreads of every kind. Tampering with foods I eliminated and are now reintroducing, I’m happy my body has re accepted peanuts with open arms! Phew, not sure how I would have dealt with a peanut intolerance?! Those with nut allergies, I really feel for you.
I aim to utilise this page for recipes and experiments creating a variety of nut butter cups. Join me on this exciting journey to the perfect pair of nutty cups 😉
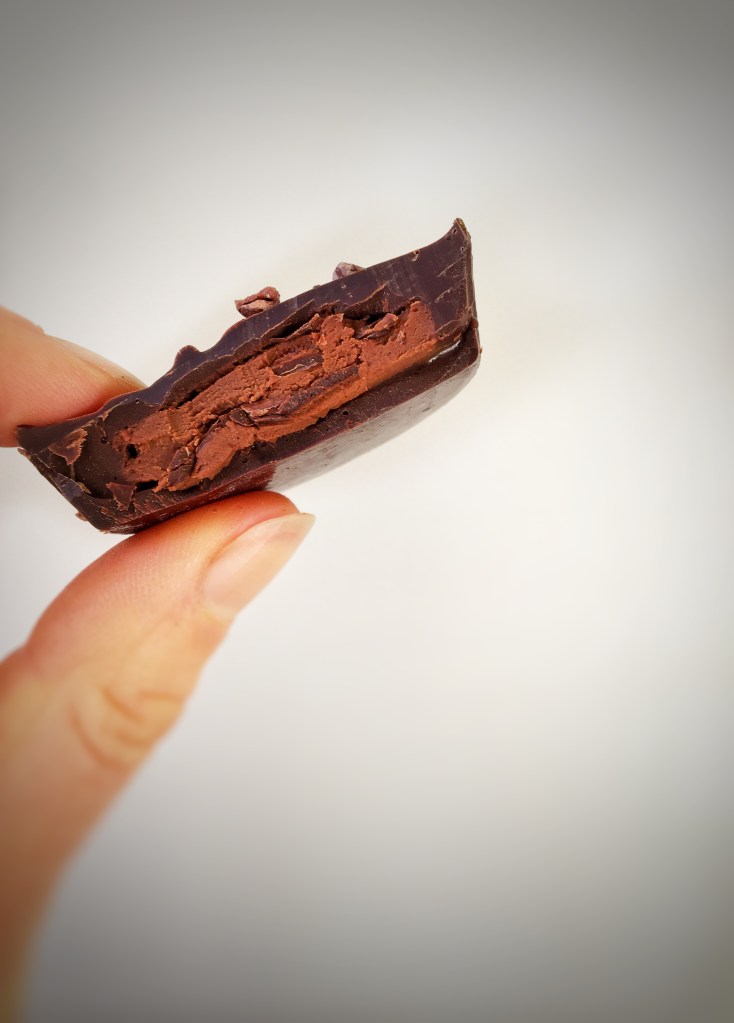
Peanut Butter cups
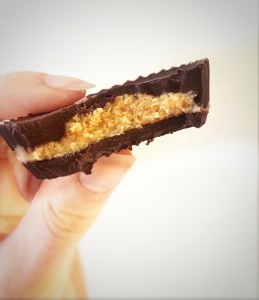
These are the ultimate good fat snack! 100% rich organic dark chocolate, organic rough peanut butter and a sprinkle of flaky sea salt, results in this classic cup being all things KETO, PALEO, VEGAN, DAIRY FREE, GLUTEN FREE and all round delicious.
How do you make them, I hear EVERYONE asking?
Ingredients:
Makes 7 cups
100g Dark chocolate – choose between 75-100%
7 tsp of peanut butter
1 tsp coconut oil
Sea salt
Optional – 1 tbsp maple syrup to sweeten
Method:
Fill a small saucepan with water and place on a high heat. Place a heatproof bowl on top of the saucepan and break the dark chocolate into the bowl along with the 1 tsp of coconut oil, wait to melt and stir until glossy.
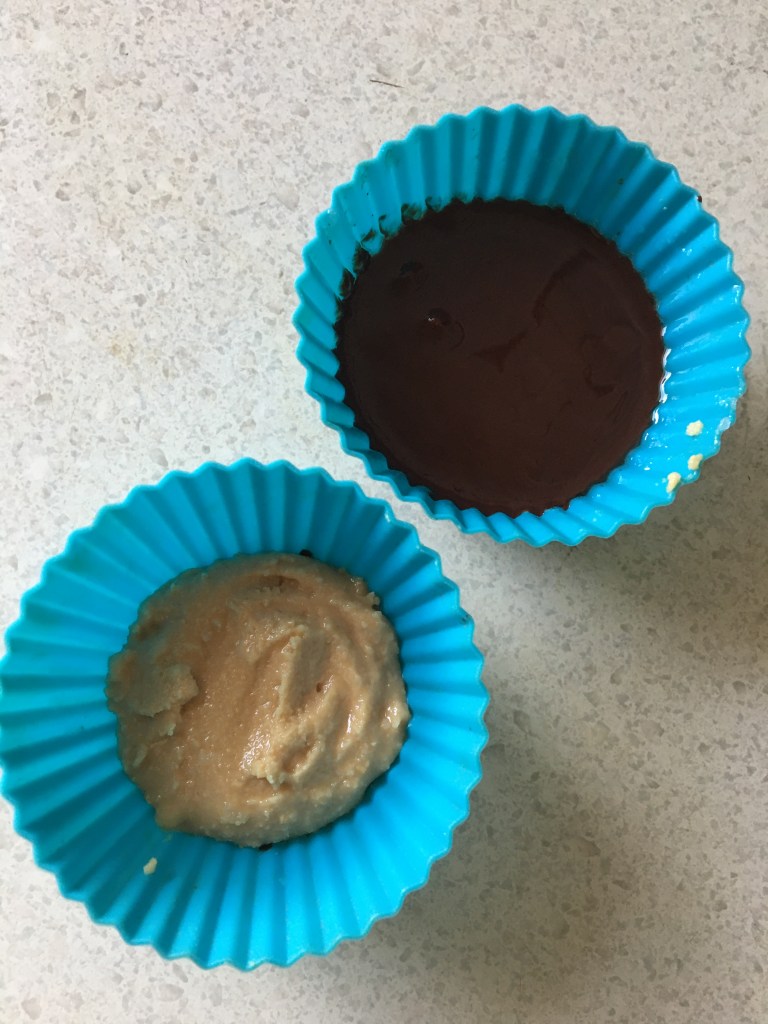
Grease the baking cups if using silicone, then using a teaspoon, scoop and pour 1 tsp of your melted chocolate into the cake case. Once all 7 moulds have been filled, place inside the fridge to allow the chocolate to set, this should take around 15minutes.
Take the moulds out of the fridge and start to spoon in 1 tsp of peanut butter to each mould. If you’d like to add maple syrup you need to mix this into the peanut butter before spooning.
Next you may need to reheat your leftover chocolate thats been sat inside the bowl to spoon the remaining chocolate over the top of the peanut butter. When the peanut butter has been covered, you can place the peanut butter cups back in the fridge to fully set – this should take around 20minutes, however will taste great after a full day to rest. To season/decorate with salt take out of the fridge after 5 minutes – if you do this too soon the salt will sink into the chocolate, too late and the salt won’t stick.
Please note these will melt in the heat like any kind of chocolate, so please be wary of keeping them cool in a seal tight container for extra freshness.
It’s peanut butter jelly time…..
The peanut butter cup has been upgraded, meeting it’s bestie – strawberry jam. Usually I would make my own jam, but as I was slim on time making these for a friends birthday, I had to cheat a little, so this is a store bought jam, 100% strawberries, nothing added.
Follow the recipe above, adding 1/2 a tsp of jam. Leave in the fridge to set and cool for 2 hours, eat and enjoy.
Coconut salted caramel, peanut butter cups
Really, what doesn’t go with peanut butter? It’s pretty good with everything, such a clever little bean! Toady this little legume paired up with the almighty coconut seed to make……… Coconut salted caramel! How does one make caramel from a coconut I hear you ask?! Read on to fine out;
Coconut sugar is produced from the sap of the flower bud stem of the coconut palm tree, almost anything can be made from the coconut seed, husk, leaves, trunk, all of it can be used, as mentioned in a earlier post, when I visited Fiji, locals called it ‘the tree of life’ as it provides so much.
Ingredients for the coconut caramel:
x1 cups of coconut sugar
x1/2 cup of full fat coconut cream
1 Tbsp coconut oil
Cracked rock salt
1 tsp vanilla extract
Method:
Combine the coconut cream, coconut sugar and salt in a saucepan over medium-high heat and wait for it to become fragrant and start to bubble.
Bring to a boil, then immediately lower the temperature, keeping the sauce at a light simmer.
Simmer for 10-20 minutes, stirring occasionally. As the sauce reaches the last 5-8 minutes of cooking time, stir more frequently to incorporate the darker caramel bits from the bottom into the sauce.
Once the sauce has turned a dark amber and has thickened to coat the back of a spoon, remove from the heat and stir in the coconut oil and vanilla extract, the sauce should look fairy thick, it will become thicker once cool.
Serve the sauce warm or refrigerate in a sealed glass jar – if adding straight into your PB cups, refrigerate as this will make spooning the mixture into the moulds, much easier.
Continue to follow the original recipe to complete this amazingly sweet and nutty layered chocolate cup.
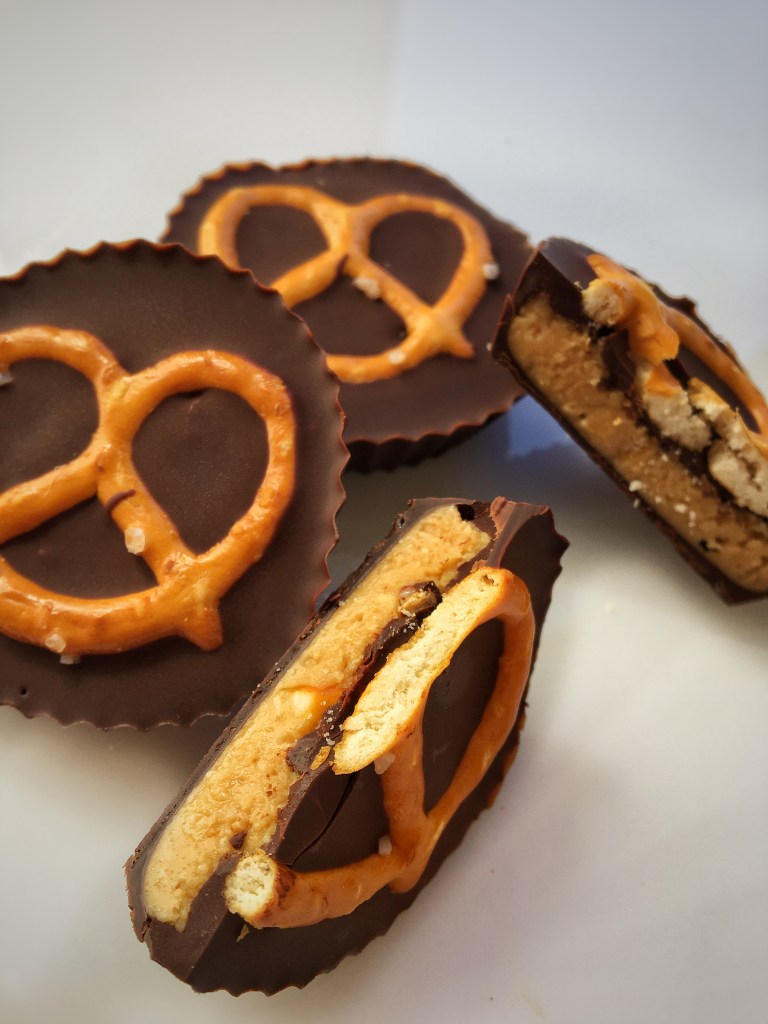
Peanut butter and salted pretzel
Something a little different but exactly what you know, if you’ve had peanut butter stuffed pretzel bites, you’ll know how insanely good peanut butter with pretzels are. Here I’ve added salted pretzel pieces inside and a wholesome pretzel on top for added crunch and texture, giving you a biscuity taste when you bite in.
Chocolate praline crunch
With activated buckwheat and puffed quinoa, this nut butter free crinkle cup is the NEW favourite. It’s rich, crunchy with smooth velvety coconut creamed praline tucked away inside.
Espresso
Another nut free goodie. This batch is sweet, yet bitter for all the espresso fans out there. Creating a coffee infused praline, encased inside 70% rich dark chocolate, topped with crunchy cacao nibs, this batch is best suited for those who like it dark and rich.
Strawberry chia
If you like it fruity, this is your batch, filled with 100% natural strawberry jam, when you bite into these crinkle cups your get a sweet hit of sweet tangy jam along with the subtle crunch of chia seeds. This will be my second batch of nut free crinkle cups, I’m curious to learn what people like when It comes to chocolate treats, are you a fan of sweet or bitter tastes? Milk or dark chocolate or perhaps you like white? Drop me a DM I’d love to know.
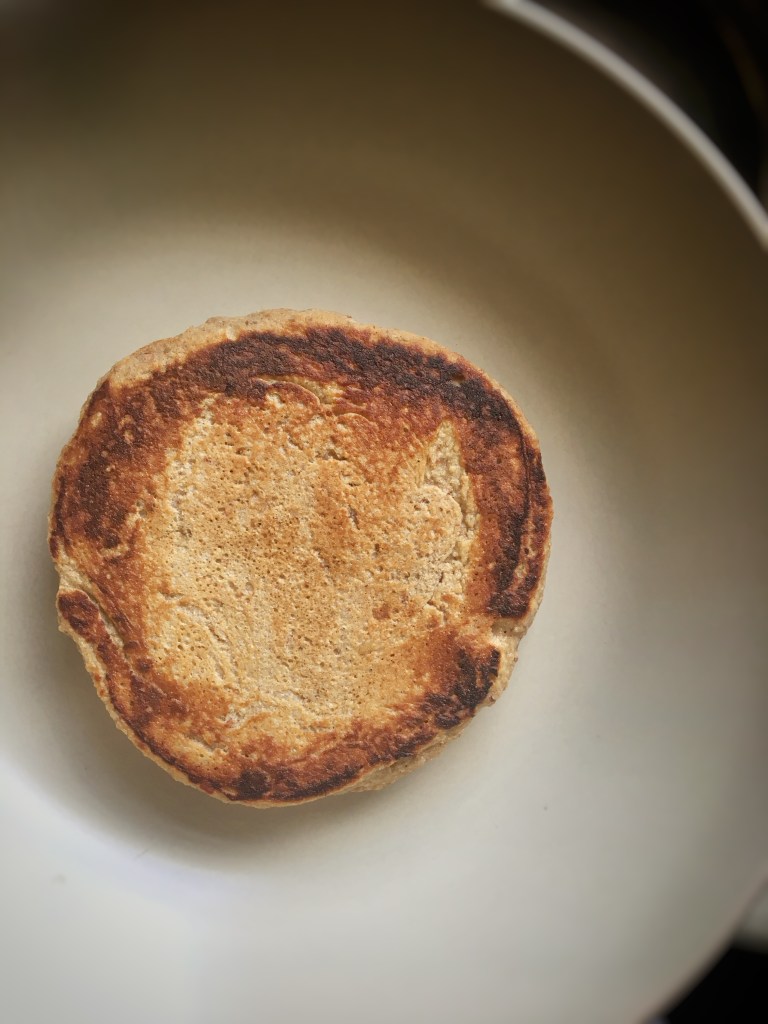
Pumpkin spice, gingerbread, chai, cinnamon swirl, you name it, if its naturally flavoured with any sweet spice I’m ALL over it! A gingerbread stack of pancakes has been on my bake list for quite sometime and even though the ‘Autumn season’ has officially ended here in sunny Australia, I aim to continue it on throughout the year. Here I have whipped up a tasty stack of gingerbread pancakes which contain 100% pure naturalness, topped with oak barrelled maple syrup and activated nuts and seeds, the flavours in these pancakes are subtle and warming. SO, SO good in my opinion. If you like the taste of gingerbread cookies, these pancakes should hit the spot, they certainly did for me.
Ingredients:
Makes around 4 pancakes
X2 tbsp of Cavassa Flour
x 1 tbsp of almond meal
x 1 tbsp coconut flour
x 1 tsp baking powder
x 1tsp vanilla extract
X2 pasture raised eggs
x2 tsp ground Ginger
x1 tsp ground cinnamon
x1/2 tsp ground all spice
x 1/2 cup of fresh almond milk
x1 tbsp water
X1 small fresh or frozen banana or half a large banana
Pinch of pink rock salt
Method:
Start by adding ALL pancake ingredients into a food processor, blitz up until smooth and gloopy.
Heat a frying pan with coconut oil on a medium heat and tilt pan so oil spreads evenly around the pan.
Using a ladle or tablespoon scoop and pour the runny mixture into the pan so it forms a small circle in the middle, when you see air bubbles start to rise up through the pancake this is the all go to start flipping! Ensure you have a quality spatular that can easily slide under the pancake so you achieve a successful flip each time.
Each pancake should require around 2 mins frying time each side.
Got lemons? Make lemonade… Got Nuts? Let’s make nut milk!
You can quite literally make plant-based milk from most wholefoods, perhaps not lemons, but rice, soy beans, seeds, nuts and oats, the list goes on for dairy milk alternatives, how good they taste is for you to decide, I however like to experiment with these alternatives.
So far, I have made coconut milk, hemp, cashew, almond (my absolute favourite) and now HAZELNUT.
Hazelnut milk has an incredibly soft and subtle flavour, however you can enhance it’s earthy nutty flavours this by adding natural hazelnut essence, sweetening your milk with a date or try adding natural cacao to create a drinkable Nutella like drink. Your ratio of water to soaked hazelnuts will determine how creamy the milk consistency is. Here I use 1 cup of hazelnuts to 750ml of filtered water, so the ratio is around 15:1
Ingredients:
1 cup of hazelnuts
750ml Filtered water
Pinch of pink rock salt
Method:
Soak hazelnuts for 12 hours, then rinse with cold filtered or tap water, blitz up in a blender along with the water and rock salt. PRO TIP: By slowly adding water as you blend you can achieve your desired consistency – thick and creamy or light and smooth.
Pour the milk through a nut milk bag or fine mesh strainer and press the hazelnut meal through the sieve and squeeze out as much liquid as you can. This should leave you with 750ml of Hazelnut milk and around 50g of hazelnut meal which you can toast in the oven adding a pinch of rock salt to draw out the moisture, when the hazelnut meal looks dry and crispy, store away in an air tight container for up to a month.
Add your sweetness if desired, then bottle up and store your milk in an air tight lid jug, in the fridge, this will last around 4 days.
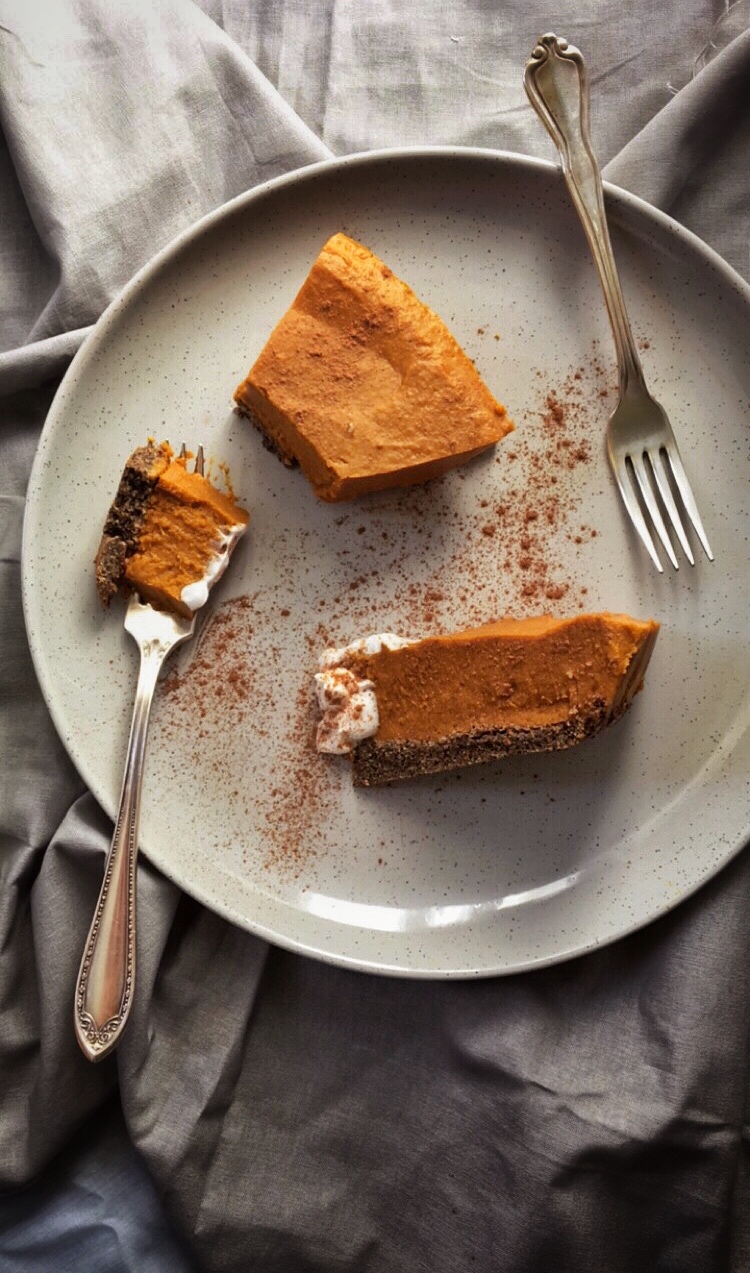
Tis the season for heart warming food and in my book anything pumpkin spice with all things nice is a winter winner!
I’ve actually never made a pumpkin pie or actually ever tried it, coming into Australian winter my social media feed has been flooded with fellow foodies creating spiced pumpkin lattes, pancakes, smoothie bowls, pies, cakes the lot, I can’t understand people that don’t love pumpkin spice or chai?! It quite literally warms your soul!
So, after indulging in chai tea, mulled wine and cider this autumn/winter, a pumpkin pie was exactly what I needed and Holy Moley, it was everything I had dreamed of and more. I’m always sceptical of how certain recipes will turn out when creating and making them for the first time but this turned out so well! I would definitely make it again for a winter Christmas in July event for sure!
Starting with your base, add all ingredients into a large mixing bowl and combine until the mixture form a firm round ball of dough – this should not be sticky or dry.
Place dough inside your 23mm pie tin or dish and flatten the dough with the back of a metal spoon to create an even smooth surface.
Once this is done, prick the base with a fork to allow the ‘pastry’ base to breath when its baking I the oven. The oven should be warmed to 170F for 10-15minutes, the pastry should be firm to touch and slightly browned, not burnt and crispy. Set aside to cool when based to perfection.
The Filling
Start by cutting the skin off your jap pumpkin and de seeding, then cut pumpkin flesh into small chunks and add to boiling water with a pinch of salt.
When the pumpkin is soft to prick with a fork, remove your pan from the stove and drain the pumpkin through a fine mesh sieve. Using a spatula, start to stir and scrape the pumpkin mash through the sieve into a bowl so the pumpkin comes through smooth and light – forming a puree consistency.
When all pumpkin has been sieved into a bowl, add all filling ingredients together in the mixing bowl and stir until fully combined.
Transfer your pumpkin mixture into a saucepan and place on a very low heat to warm through to activate the gelatine granules – this allows the gelatine to bloom. Stir and leave to settle for around 5 minutes over a low heat.
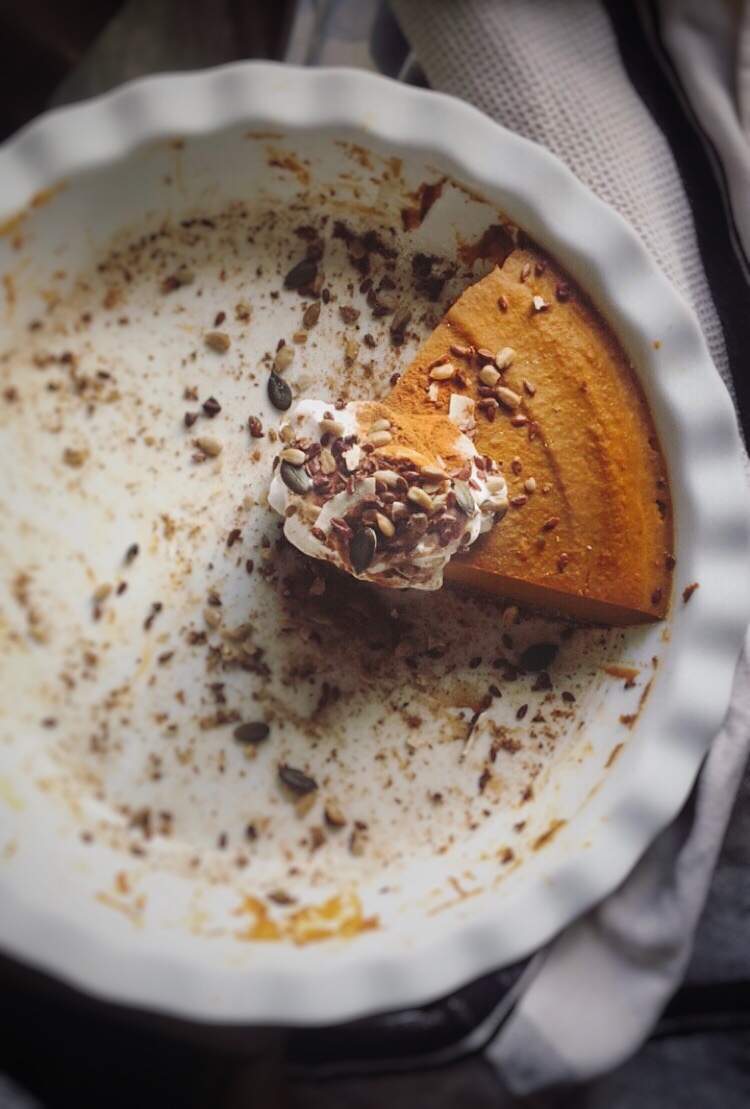
Leave to cool for around 5-10minutes before pouring your deliciously smelling filling over the base. Smooth over and place inside your fridge for up to 4 hours to set, the longer the better.
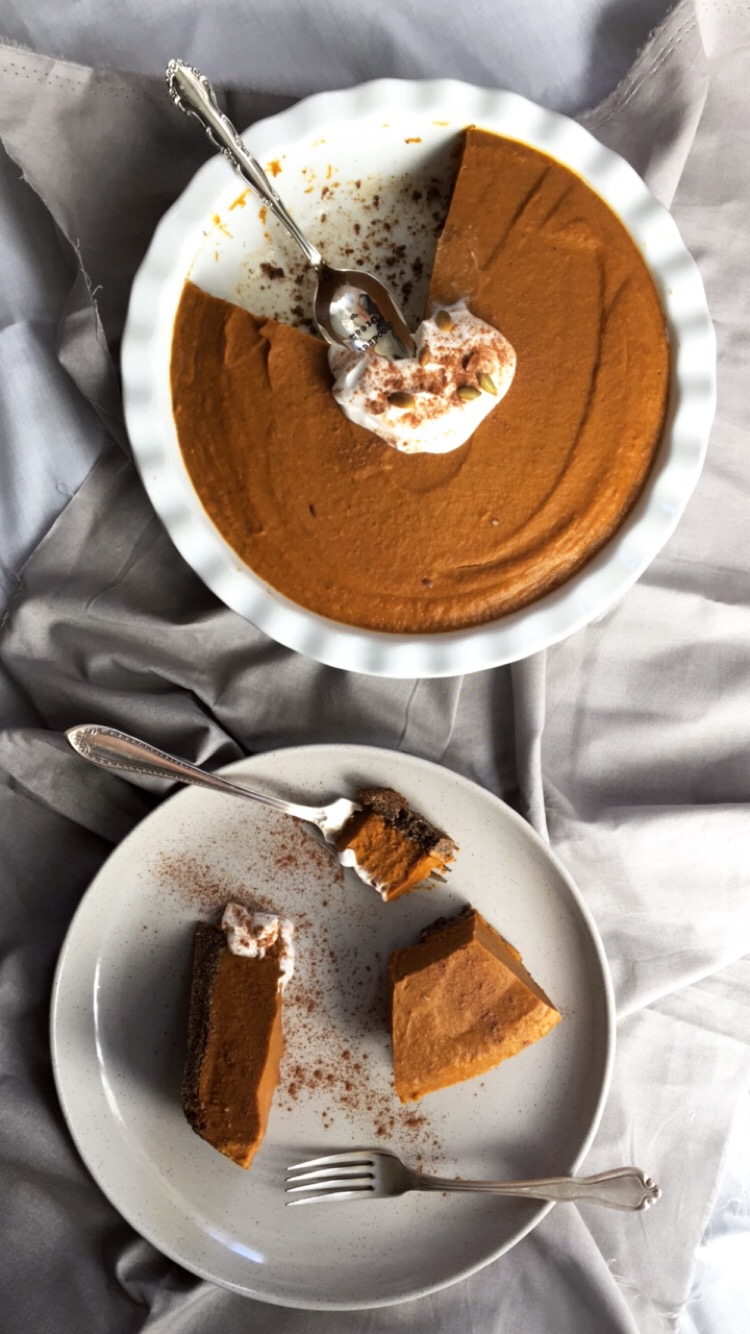
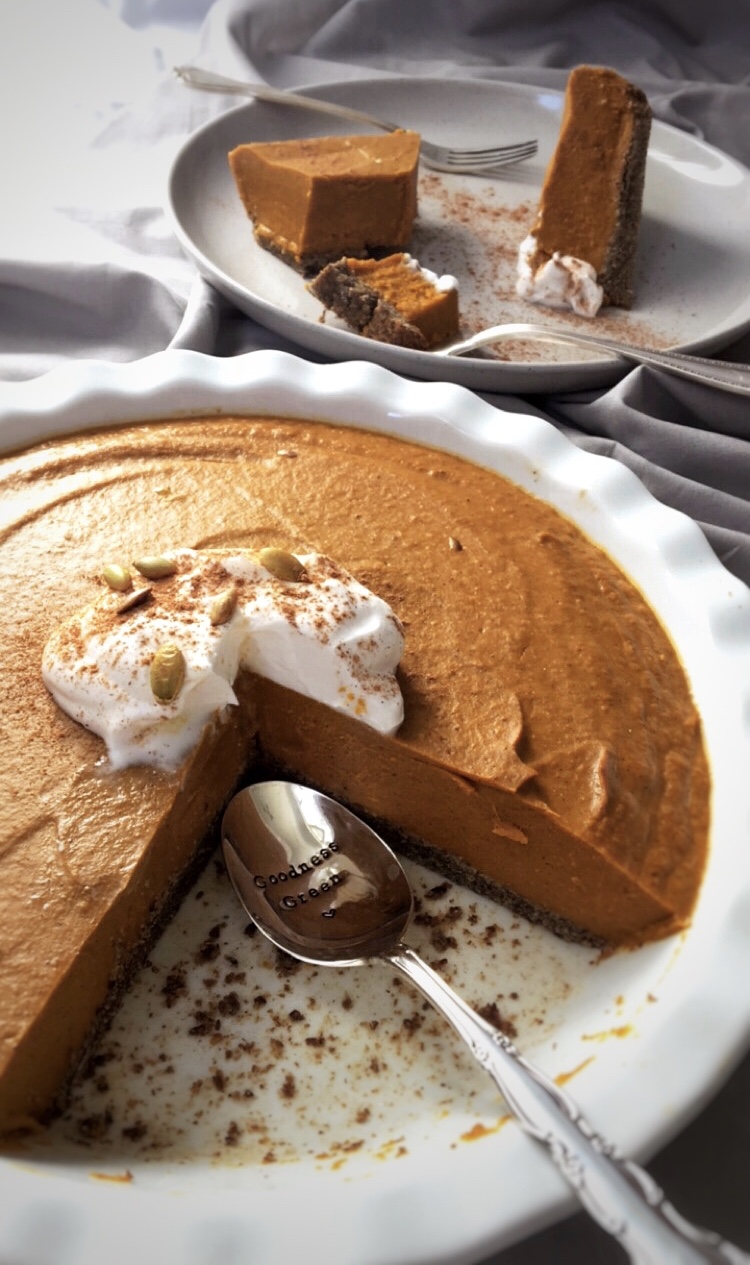
When it’s time to delicately carve up this beauty, decorate the top with a dollop of coconut yoghurt, a dusting of cinnamon powder and lastly sprinkle with toasted pumpkin seeds.
I hope you enjoy this as much as I did, its such a pleasure just to look at and eat!
A quality Australian tradition the Lamington has been around for centuries, originally the cake consists of sponge cake dipped in chocolate, sprinkled with fine desiccated coconut, It was actually created by accident from a maid-servant to Lord Lamington, The eighth British Governor of Queensland.
Here I have decided to make my own paleo version – It’s gluten free, suitable for vegetarians and delicious to all! I have made this recipe with my standard pancake recipe mix, along with some added extras, with a rich creamy chocolate ganache thats made with 4 quality, natural Ingredients. To make this Lamington inspired stack, follow the recipe below.
Ingredientsfor pancakes:
X 2 tbsp of Cavassa Flour
x 1 tbsp of almond meal
x 1 tbsp coconut flour
x 1 tsp baking powder
x 2 TBSP fine desiccated coconut
x 1tsp vanilla extract
X 2 pasture raised eggs
x1 Ripe banana
x 1/2 cup of fresh almond milk
X1 small fresh or frozen banana or half a large banana
Pinch of pink rock salt
Ingredients for Chocolate Ganache:
x1 Small orange sweet potato
x1 Large avocado
x2 Heaped TBSP natural cacao powder
x1 -2 tsp Maple syrup
Method:
Start by adding ALL pancake ingredients into a food processor, blitz up until smooth and gloopy.
Heat a frying pan with coconut oil on a medium heat and tilt pan so oil spreads evenly around the pan.
Using a ladle or tablespoon scoop and pour the runny mixture into the pan so it forms a small circle in the middle, when you see air bubbles start to rise up through the pancake this is the all go to start flipping! Ensure you have a quality spatular that can easily slide under the pancake so you achieve a successful flip each time.
Each pancake should require around 2 mins frying time each side.
The topping – Chocolate Ganache:
Once you’ve got yourself a small stack of pancakes and they’ve cooled from hot to warm, you can start on you’re tasty topping.
This should take less than 2 mins to make, It’s super fast and easy.
Step 1:
Starting with you small sweet potato, Peel the skin and chop by dicing into small chunks. Boil water in a small saucepan and cook sweet potato through until it’s soft to prick with a knife.
Step 2:
You can make this whole recipe with by mashing ingredients into a mushy texture with a fork or if you have the privilege of owning a food processor, I would highly recommend using this as it will rid of any lumps and bumps in your ganache.
Step 3:
Place your whole avocado, cacao powder, maple syrup, and sweet potato in a bowl or food processor and begin blitzing or mashing to creating this delicious chocolate frosting. When you’re happy with the texture and consistency, you can start to spread this drool worthy chocolate goodness over your pancake stack as you wish – here I have literally covered the stack all over – top and bottom, side to side! I’ts hard not to when you make frosting this good! Lastly, you can decorate with some shaved coconut strands.
If you Know me well you will know that I absolutely LOVE Chai. The warming chai spices, fresh, creamy almond milk sweetened with natural honey is what I dream of.
Chai originates from India and it’s been around for centuries. It was said that this flavoursome drink was a ‘healing spiced beverage’ to be used in AYURVEDA, a traditional medicine practice in which herbs and spices are used for healing.
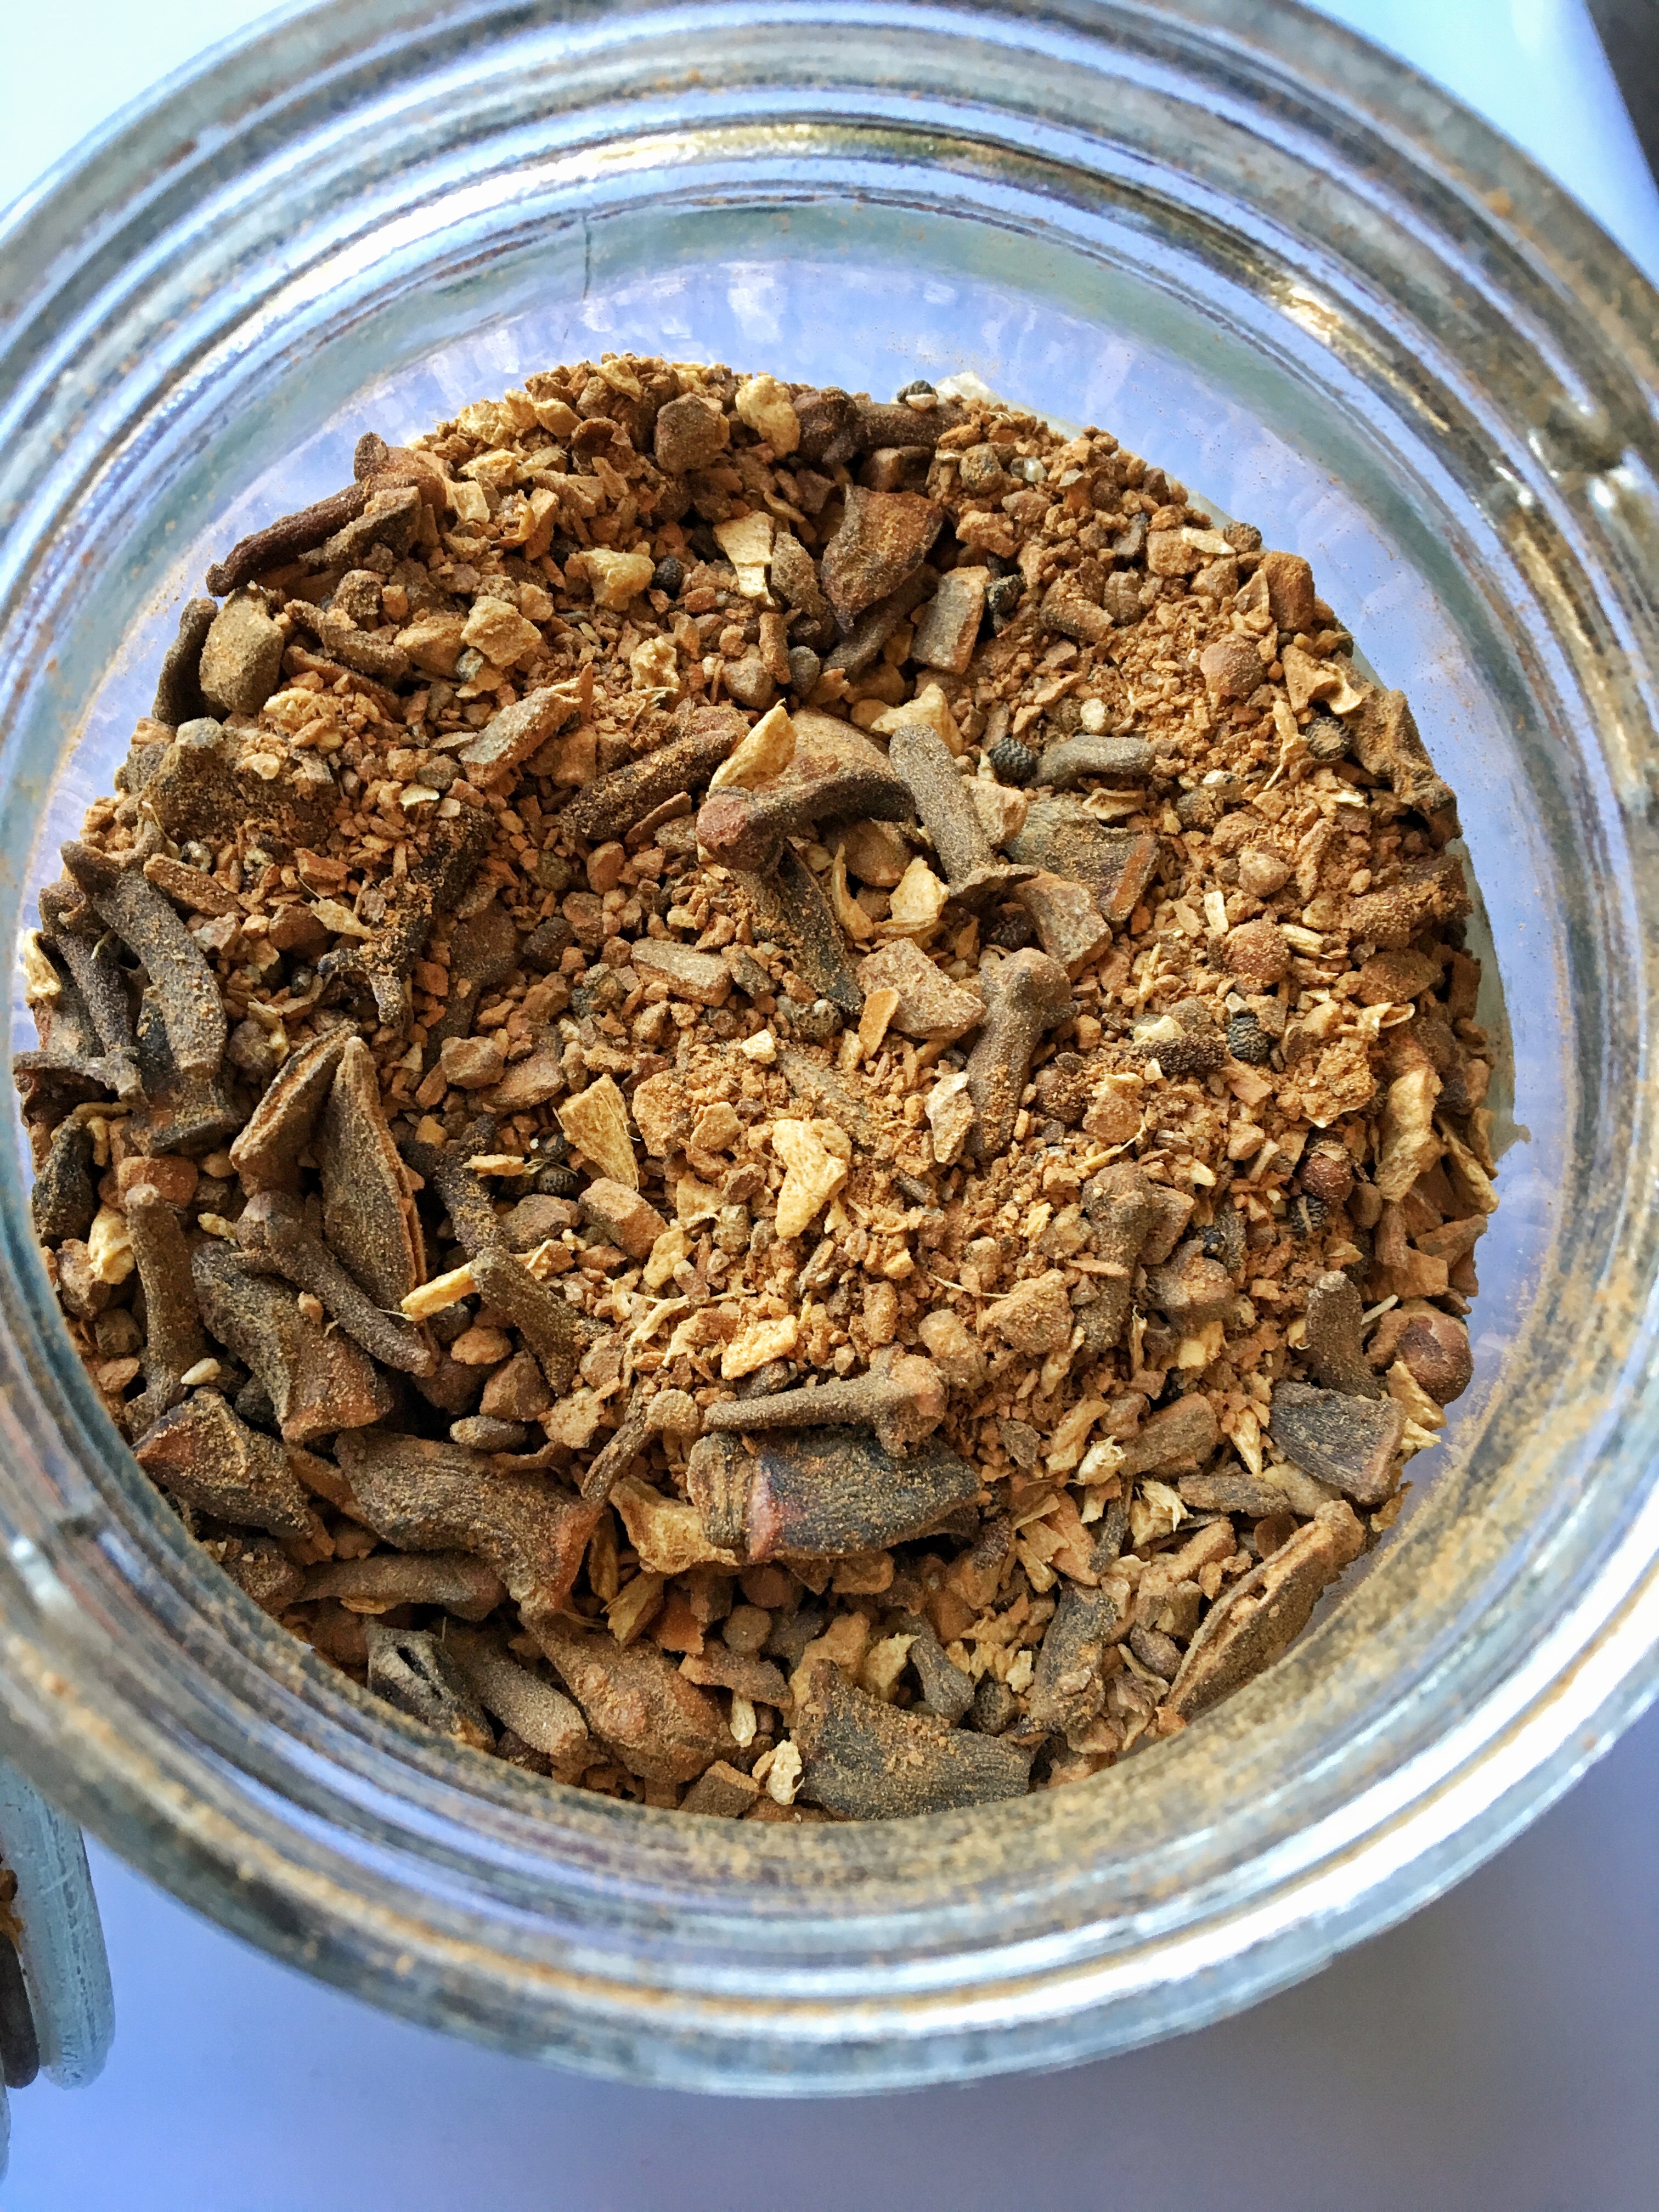
Traditional chai consists of CINNAMON, CASSIA, CARDAMON, CLOVES, GINGER and PEPPERCORNS. Nowadays, chai can take on many varieties and contain a heap of varies natural ingredients.
I buy my chai dried from a local wholefood’s and it’s made and sourced in India. You can definitely spend a lot of money on quality authentic chai, given its purity and origin, but I can assure you like many things when it’s made well from the people that respect and understand its history, the flavour and quality is always worth the price you pay. I hope one day that I will travel to India and learn to make REAL chai locally.
When I make chai, I always make it with fresh almond milk and two tablespoons of an organic chai blend – ensure you don’t mistake this form of chai with the processed powdered crap. That stuff really is poison.
Ingredients:
1 cup of almond milk
1 tbsp of organic chai spice
½ cup water
1 tsp honey
Method:
I place half the cup of water in a saucepan then scoop 2 tablespoons of the chai blend into the pan and place on a medium heat. I wait until the chai is soft and the water has almost all evaporated, I add honey, then fresh almond milk – Steaming the chai on a medium heat will extract the natural flavours from the herbs and spices and you should see a very dark brown liquid form – this is liquid gold!
Place the chai on a very low heat and when your chai is warm and brewed to perfection. Be careful not to let your milk and chai boil as it will split the proteins in the milk, warm it gently, let it brew for a few moments before pouring. Next you can pour the contents through a sieve and strain into a cup. I like to dust the top with some cinnamon powder for extra bitter, sweet flavour.
I have been making this banger of a breakfast for years! It’s simple, cheap, filling, nourishing, nut free and PALEO.
It’s basically a sweet omelette and It totally works.
Ingredients:
Serves 1
3 eggs
1 tsp vanilla extract
1 tbsp water
2 tsp cinnamon
1 tsp nutmeg
Method:
Whisk these ingredients together and if you like you can add fresh fruit to the batter or add it later when the batter has cooked through.
When the batter is runny (the consistency of an omelette batter), pour into an oiled non stick pan and cook as you would a regular omelette.
I tend to add frozen blueberries and a good serving of maple syrup, however this batch as shown in the photo above has COYO yoghurt, stewed apple and raspberry which I’ve decorated with some dragon fruit stars.
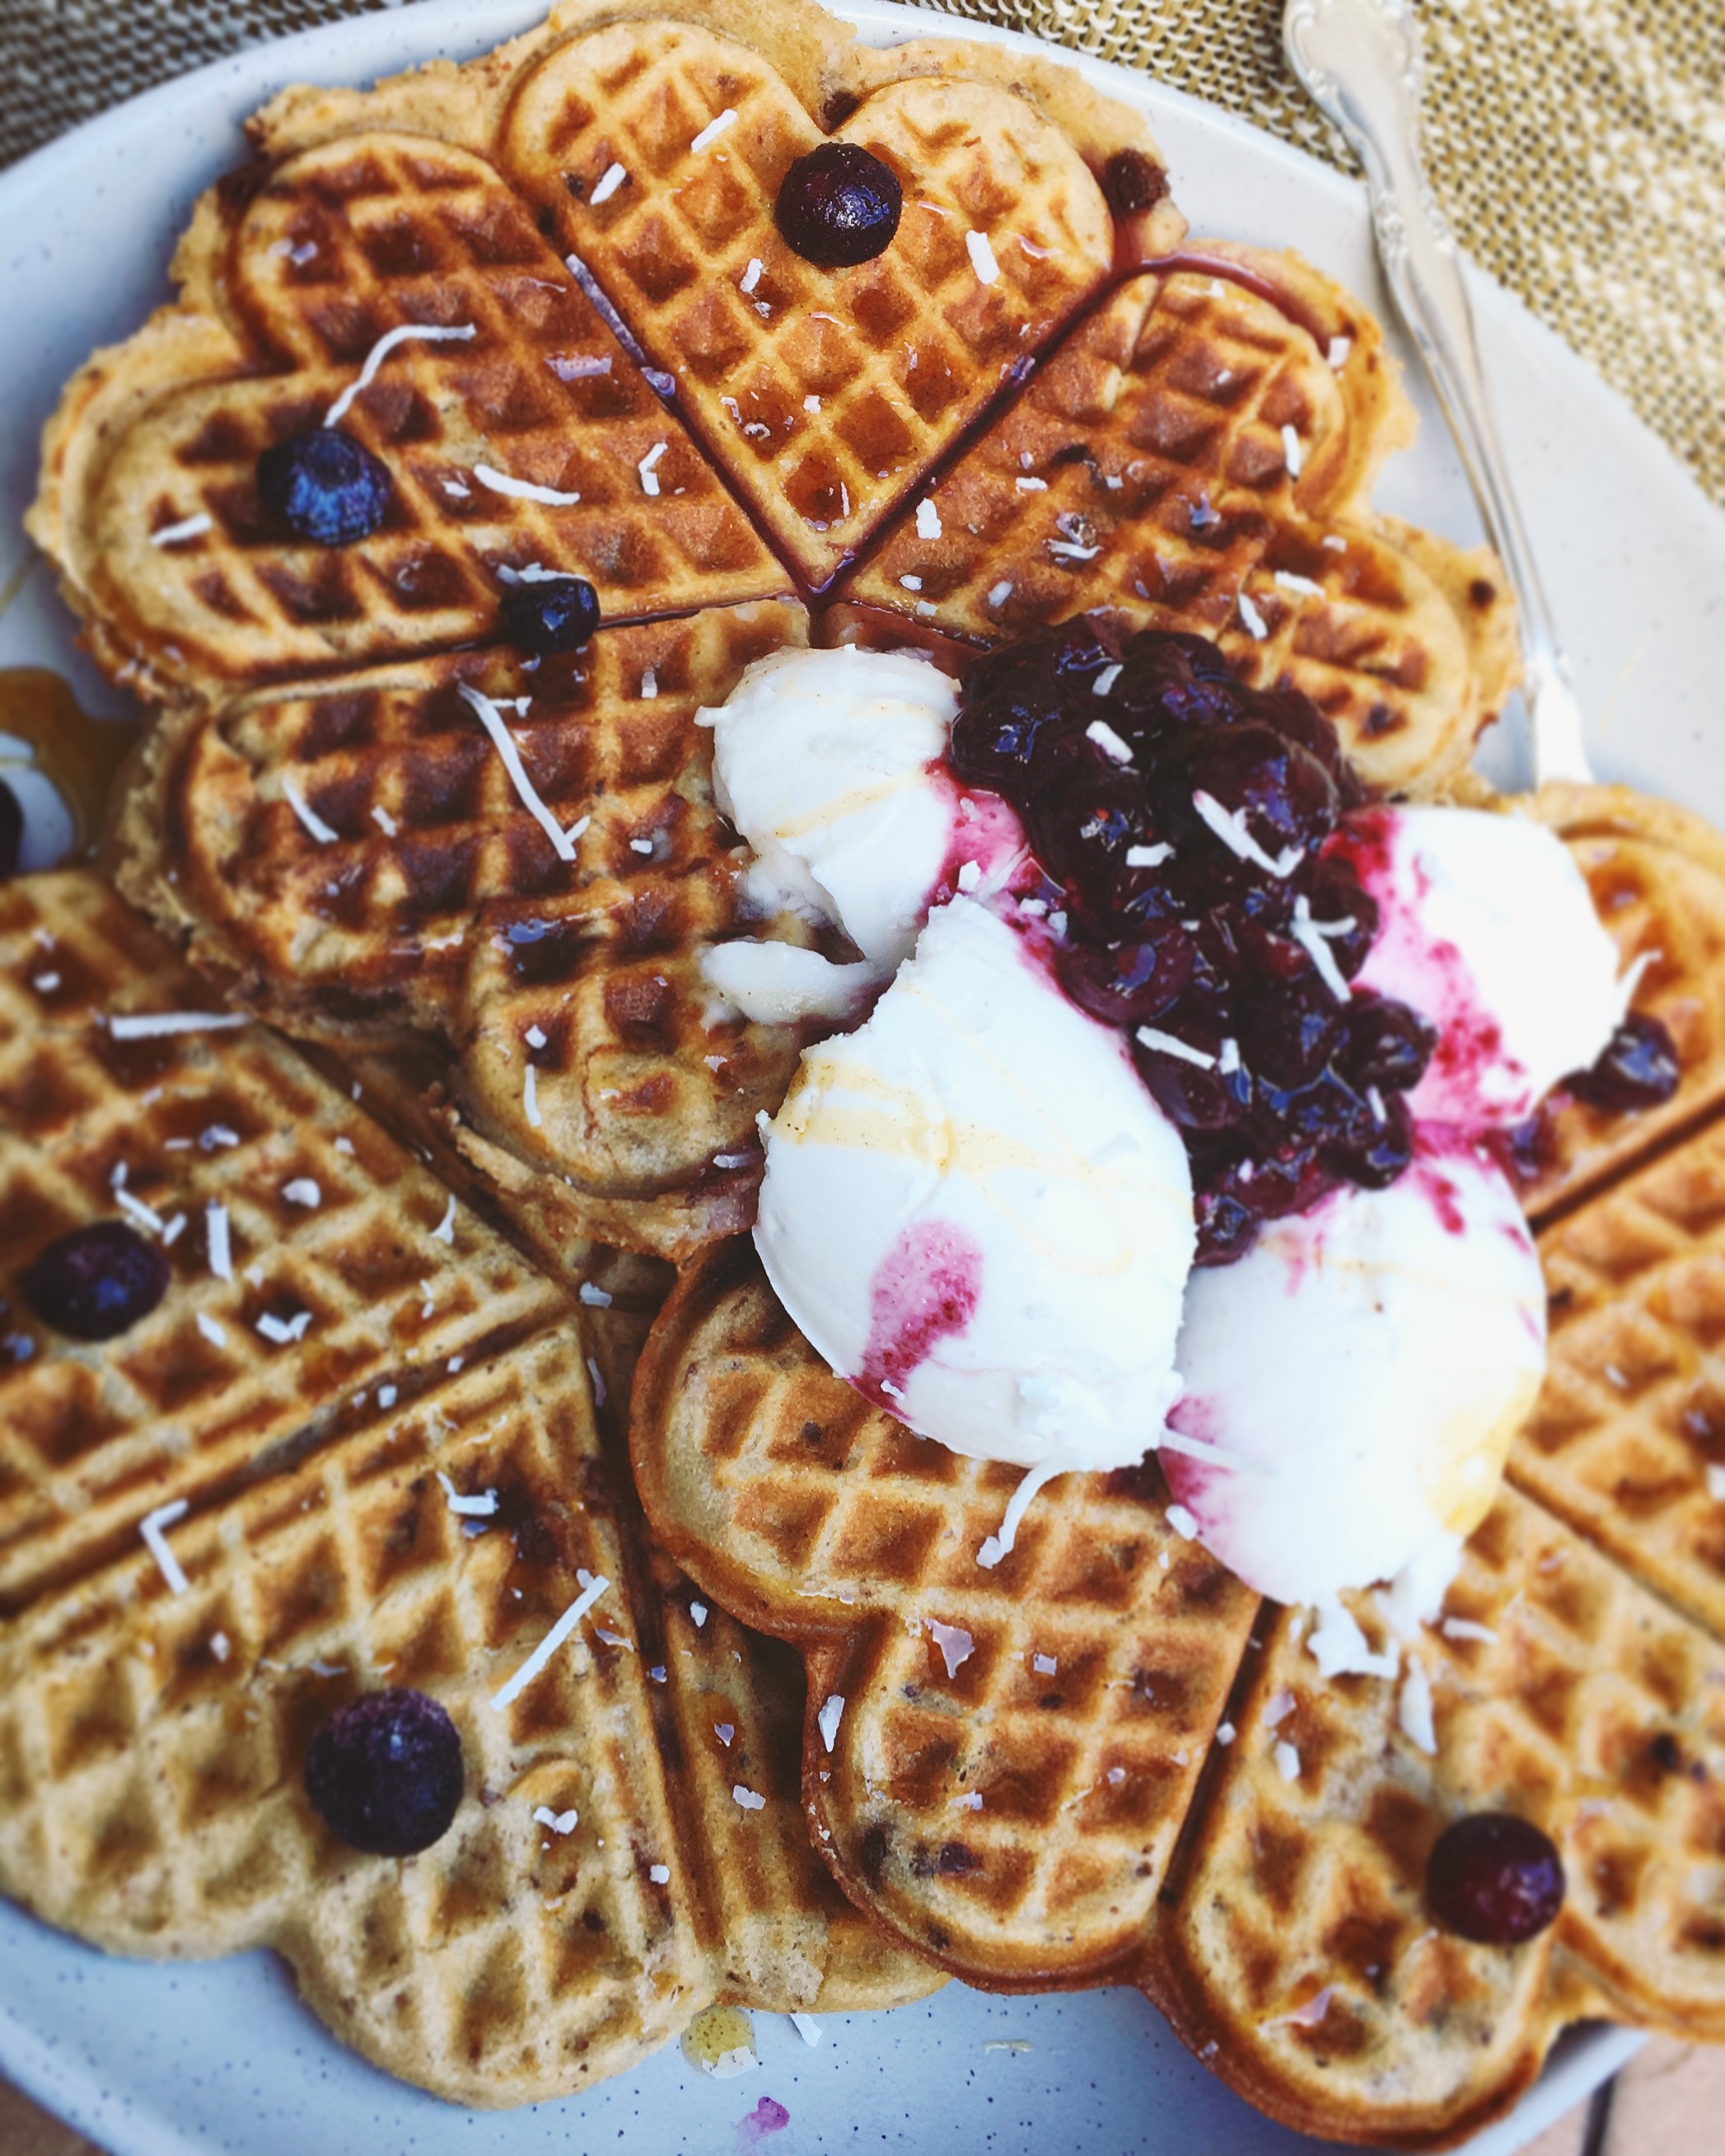
I’ve posted a few recipes for savoury waffles but every now and then I will whip up a sweet batch of breakfast waffles, this batch is chocolate chip which makes them extra fancy!
Ingredients:
Serves 1-2
1/2 cup coconut flour
1/2 cup almond meal
1/2 cup cavassa flour
1 tsp baking powder
1 tsp pure vanilla extract
2 egg yolks
2 egg whites
1/2 cup high percentage dark chocolate chips
Pinch of salt
1/2 cup almond milk
1/2 cup water
1 small banana
Method:
In a bowl separate the egg whites and whisk until you have formed stiff peaks.
Next, in your food processor or mixed bowl mix together all other remaining ingredients until you have a thick gloopy batter.
Gradually fold the egg white into the batter, until the batter looks light and aerated.
Heat up your waffle iron and pour in your batter when heated.
You should have enough batter to make 3-4 waffles. Depending of the size of your waffle iron this may vary.
Get creative when you come to decorate and top your waffles, here I have dried coconut strands, COYO coconut ice cream, frozen blueberries and maple syrup.
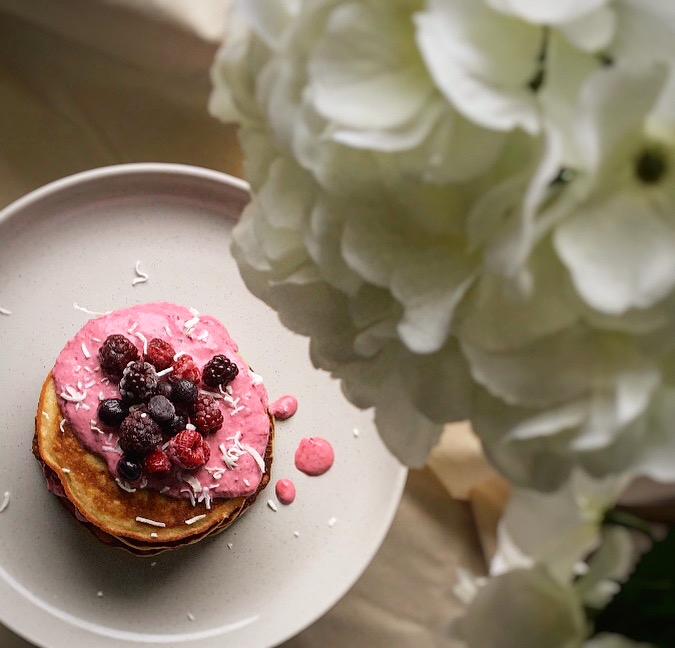
In my opinion these pretty pink pancakes look as good as they taste – They are pancake art! A treat for the eyes and your belly.
To make these super simple pancakes, gather together the all natural ingredients listed below.
Ingredients:
Serves 1-2
Pancake mix
1 tbsp Almond meal
2 tbsp cavassa flour
1 tbsp coconut flour
1 heaped tsp baking powder
1 tsp vanilla extract
½ cup almond milk
1 tbsp coconut cream powder
1 small banana
2 eggs
1 tbsp of cold water
Berry topping:
1 cup mixed frozen berries
2 tbsp coconut yoghurt
Method:
In a mixing bowl or food processor blend together all of the pancake mix ingredients until the batter is smooth and runny.
Heat an oiled non stick frying pan and wait until the oil has melted and the pan is nice and hot.
Into the pan pour a tablespoon of the batter and swirl the pan until the batter has spread to form a small circle. Wait around 90seconds to 2mins before flipping, you should see the pancake start to aerate and rise. When cooked through, leave aside to cool.
Whilst you wait for your pancakes to cook in the pan you can start to make the mixed berry topping. This is so easy to make, only two ingredients and its essentially a smoothie. If you have any extra left over, you now have a smoothie for breakfast also!
Place a cup of mixed frozen or fresh berries into a food processor along with the coconut yoghurt and blitz up until smooth, if you want the texture to be a little runnier, you can add almond milk.
When your pancakes have cooled, stack them up and pour the smoothie mixture over your pancakes, you can decorate as you like, personally I think adding some frozen fruit to the top makes the finished plate look beautiful.


You must be logged in to post a comment.