Tis the season for heart warming food and in my book anything pumpkin spice with all things nice is a winter winner!
I’ve actually never made a pumpkin pie or actually ever tried it, coming into Australian winter my social media feed has been flooded with fellow foodies creating spiced pumpkin lattes, pancakes, smoothie bowls, pies, cakes the lot, I can’t understand people that don’t love pumpkin spice or chai?! It quite literally warms your soul!
So, after indulging in chai tea, mulled wine and cider this autumn/winter, a pumpkin pie was exactly what I needed and Holy Moley, it was everything I had dreamed of and more. I’m always sceptical of how certain recipes will turn out when creating and making them for the first time but this turned out so well! I would definitely make it again for a winter Christmas in July event for sure!

Gluten free, Paleo, Dairy Free, Refined sugar free
Ingredients:
Filling:
¼ Jap pumpkin
1 brown speckled banana or ½ cup of apple sauce
1 tbsp tapioca flour
2 tsp cinnamon
1 tsp nutmeg
1 tsp ground cloves
1 tsp ground ginger
1 tsp of fresh ginger
1 tsp of ground all spice
2 tbsp full fat organic coconut cream
2 tsp raw (autumn if you can a seasonal) honey
1 tbsp grass fed pork gelatine
Pinch sea salt
Base:
X2 ½ cups of LSA meal
X2 eggs
X2 tbsp coconut sugar
2 tsp ground ginger
1 tsp tapioca flour
Extras for topping:
1 tbsp toasted pumpkin seeds
2 tbsp natural coconut yoghurt
Dusting of cinnamon
Method:
The base
Starting with your base, add all ingredients into a large mixing bowl and combine until the mixture form a firm round ball of dough – this should not be sticky or dry.
Place dough inside your 23mm pie tin or dish and flatten the dough with the back of a metal spoon to create an even smooth surface.
Once this is done, prick the base with a fork to allow the ‘pastry’ base to breath when its baking I the oven. The oven should be warmed to 170F for 10-15minutes, the pastry should be firm to touch and slightly browned, not burnt and crispy. Set aside to cool when based to perfection.
The Filling
Start by cutting the skin off your jap pumpkin and de seeding, then cut pumpkin flesh into small chunks and add to boiling water with a pinch of salt.
When the pumpkin is soft to prick with a fork, remove your pan from the stove and drain the pumpkin through a fine mesh sieve. Using a spatula, start to stir and scrape the pumpkin mash through the sieve into a bowl so the pumpkin comes through smooth and light – forming a puree consistency.
When all pumpkin has been sieved into a bowl, add all filling ingredients together in the mixing bowl and stir until fully combined.
Transfer your pumpkin mixture into a saucepan and place on a very low heat to warm through to activate the gelatine granules – this allows the gelatine to bloom. Stir and leave to settle for around 5 minutes over a low heat.
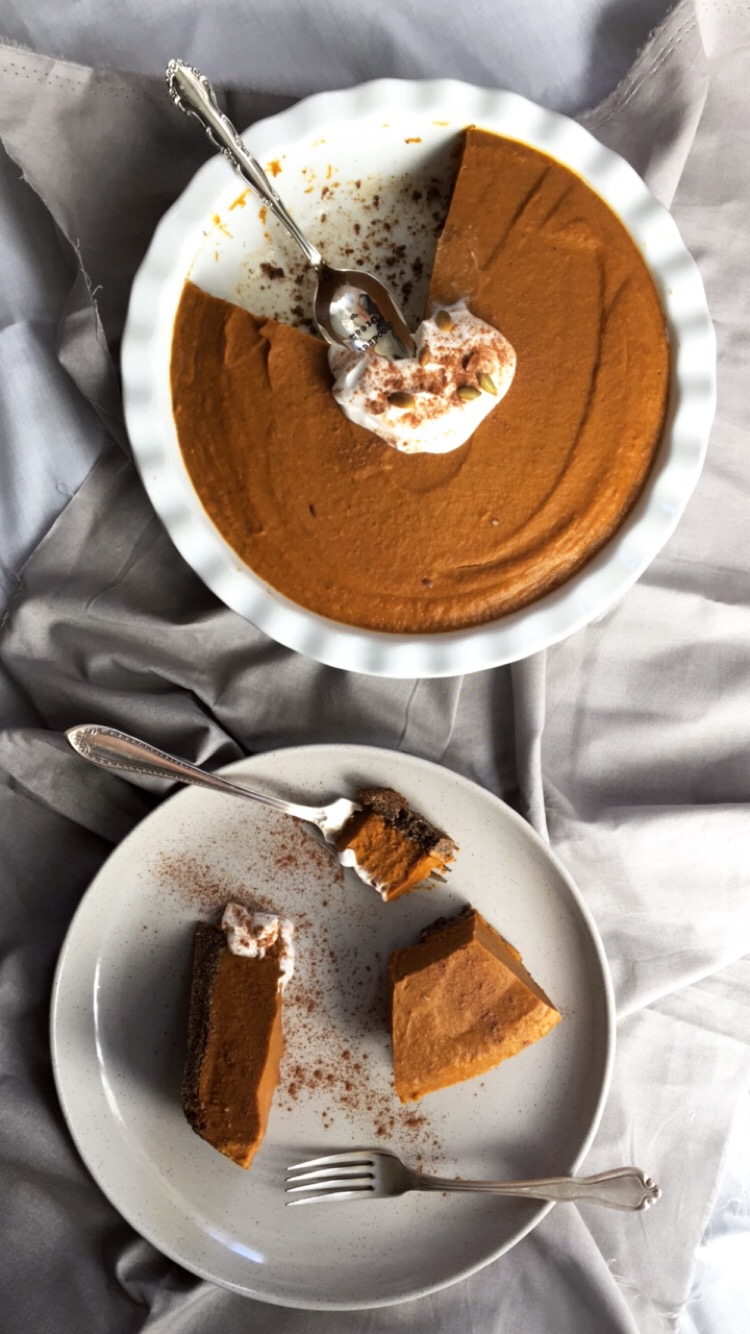
Leave to cool for around 5-10minutes before pouring your deliciously smelling filling over the base. Smooth over and place inside your fridge for up to 4 hours to set, the longer the better.
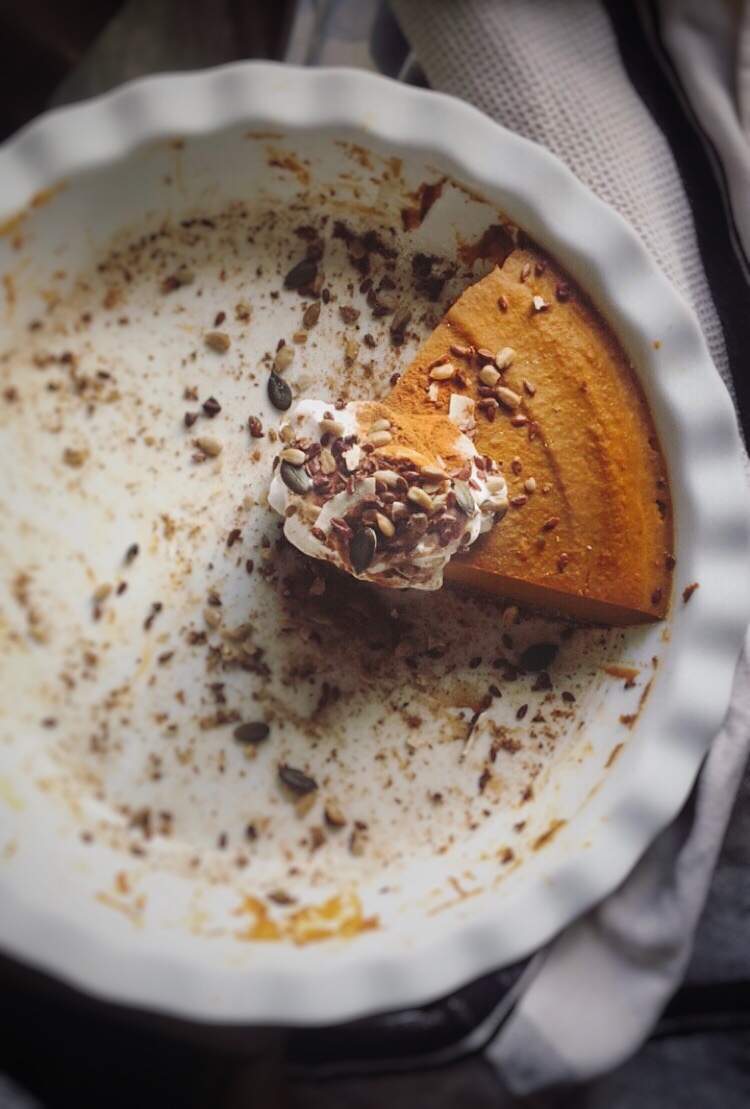
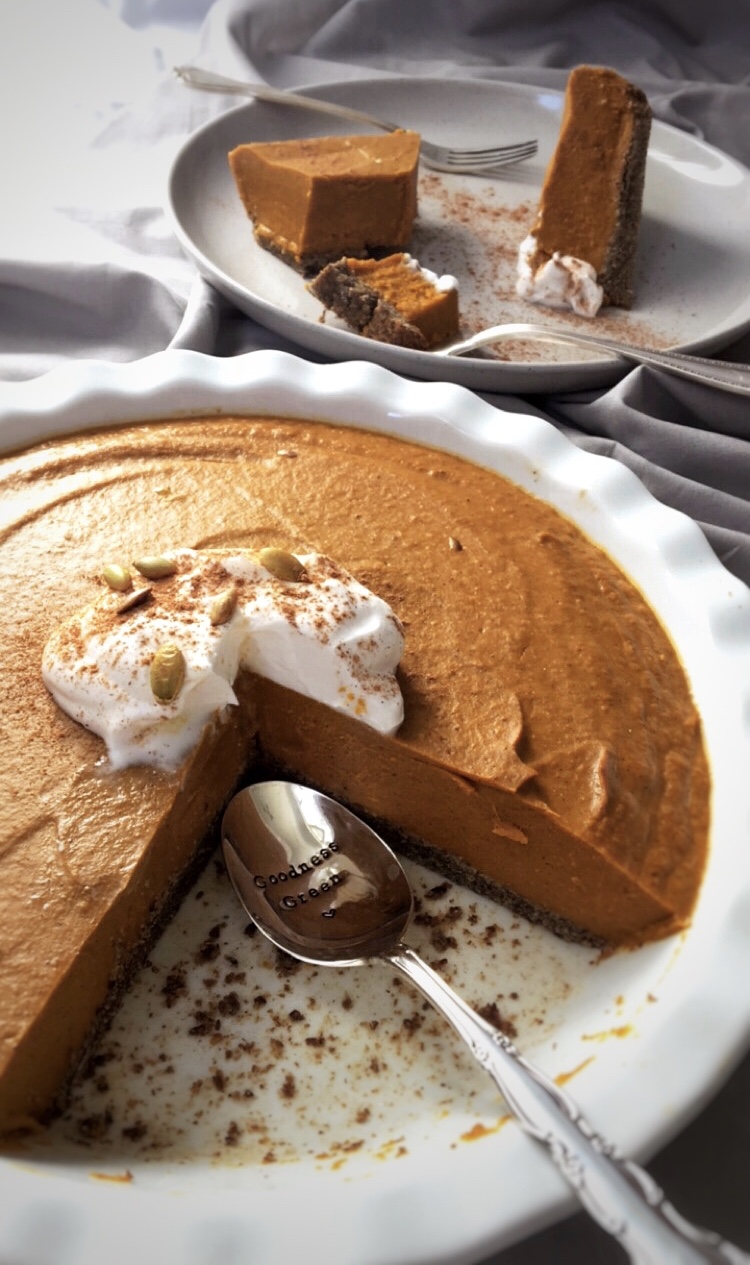
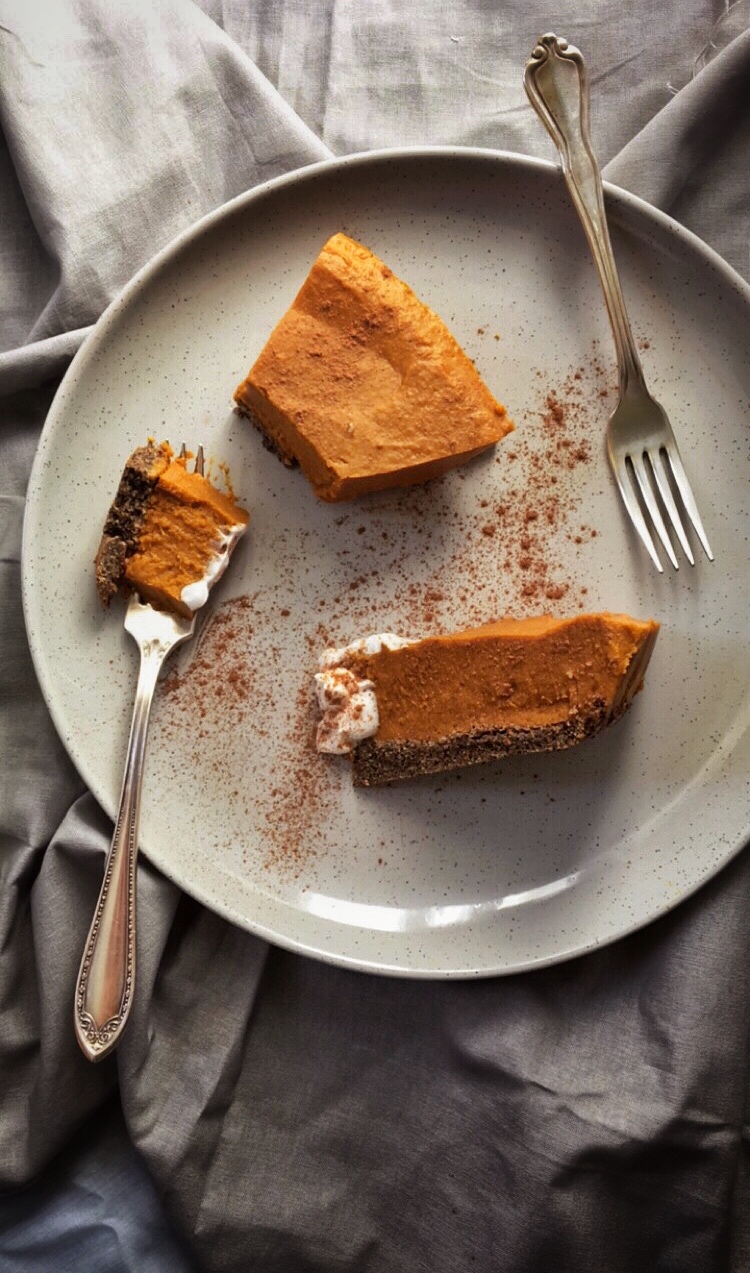
When it’s time to delicately carve up this beauty, decorate the top with a dollop of coconut yoghurt, a dusting of cinnamon powder and lastly sprinkle with toasted pumpkin seeds.
I hope you enjoy this as much as I did, its such a pleasure just to look at and eat!